
Unsure how to install Java on Mac? As a developer, having different programming languages, like Java, installed on your computer is crucial. Java, one of the most popular programming languages, lets you develop web, mobile, and desktop applications.
In this tutorial, you will learn to install Java on a Mac in many ways and create a simple project to get you started in your Java journey.
Read on to expand your programming language repertoire!
Prerequisite
This tutorial comprises of hands-on demonstration. To follow along, ensure you have the following:
A Mac computer – This tutorial uses Big Sur, but any Mac running macOS 11.0 or higher will work.
Homebrew installed.
A code editor – This tutorial uses Visual Studio Code (VS Code), but any code editor will work.
Related: How to Install Visual Studio Code on Mac
Using Homebrew to Install Java on Mac
One of the many ways you can install Java on Mac is by using Homebrew, a package manager for macOS. Homebrew lets you quickly install various software, like Java, on your Mac with a few commands.
Homebrew is the right package manager for you if you are more of a command-line person. And in this tutorial, you will install the latest and old/specific versions of Java on Mac.
Installing the Latest Version
Installing multiple versions of Java on your Mac works without any conflict. But the latest version is always recommended as it contains the latest security updates.
To install the latest version of Java on your Mac:
1. Run the below brew update command to update Homebrew.
brew update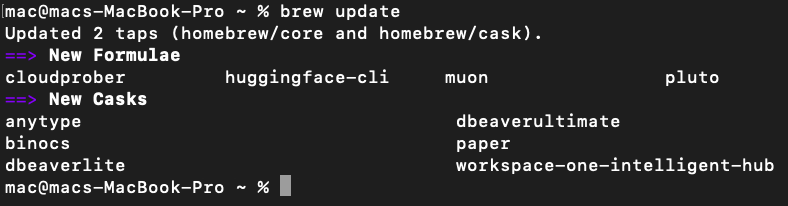
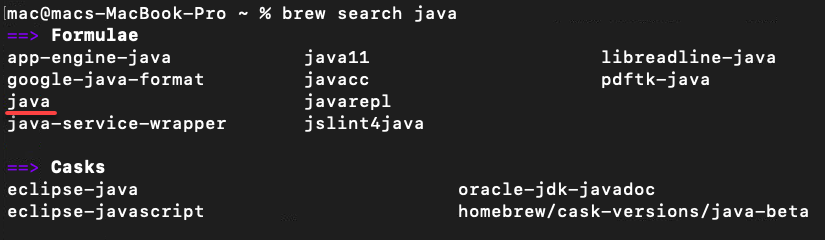
2. Next, run the following command to search for the available java formula. Homebrew uses formulas to manage packages and applications.
brew search javaYou can see below that there are many versions of Java available. The java formula is the alias for the most recent release.
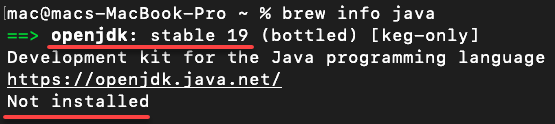
3. Run the below command to get detailed information (info) about the java formula.
brew info javaAs you can see below, at this time of writing, the latest Java release is 19, which is not installed yet.
4. Now, run the following brew install command to install java on your Mac.
brew install java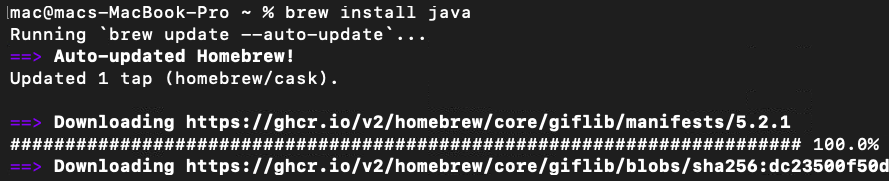
5. Once installed, run the below ln command to create a symbolic link (symlink) that points to the installed Java version.
In the command below, the following paths are as follows:
- /usr/local/opt/openjdk/libexec/openjdk.jdk – The created symlink.
- /Library/Java/JavaVirtualMachines/openjdk.jdk – The path where the symlink points to.
Creating a symlink is necessary as some applications only work correctly if they can find a Java installation in the standard location.
sudo ln -sfn /usr/local/opt/openjdk/libexec/openjdk.jdk /Library/Java/JavaVirtualMachines/openjdk.jdkEnter your password when prompted to complete the process.

6. Finally, run the below command to print the installed Java version.
java --versionThe output below confirms you have successfully installed the latest version of Java on your Mac, where:
- OpenJDK is an open-source implementation of the Java platform.
- JDK is the Java Development Kit, a set of tools for developing Java applications.
Congratulations! You have successfully installed the latest Java release on your Mac.

Installing an Older or a Specific Version
The latest version of your Java installation should be fine and all. But “version compatibility” is a thing when building or developing programs. The good news is that you can install older or specific versions of Java alongside other versions.
To install an older or a specific Java version, you first have to find the available ones:
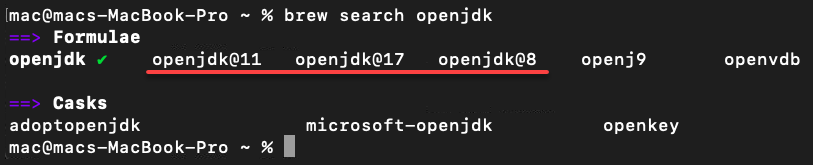
1. Run the below command to search the openjdk formula for all available Java versions. This formula usually contains much older versions of Java than the java formula.
brew search openjdkPick one from the available versions below (openjdk@8, 11, and 17) that you wish to install.
💡 The openjdk@17 is the newest LTS version, and some applications might not support it yet.
2. Next, run the below command to install a specific Java version, replacing <java_version> with your preferred one.
brew install <java_version>As you see below, this tutorial’s choice is the openjdk@11 version since openjdk@8 is too old and is not recommended anymore.

3. Once the installation completes, run the below command, which does not provide output but creates a symlink.
sudo ln -sfn /usr/local/opt/openjdk@11/libexec/openjdk.jdk /Library/Java/JavaVirtualMachines/openjdk-11.jdk4. Finally, run the exact java command below to verify the version of your Java installation.
java --version
Installing Java via the DMG Package
If you fancy a GUI instead of a command-line environment, you want to try installing Java with a DMG package (a disk image file). A DMG package acts as a virtual optical disc containing compressed software installation files and other data like bootable images.
Installing Java via a DMG package is a little bit more manual work. But hey, clicking through a basic installation wizard would not hurt.
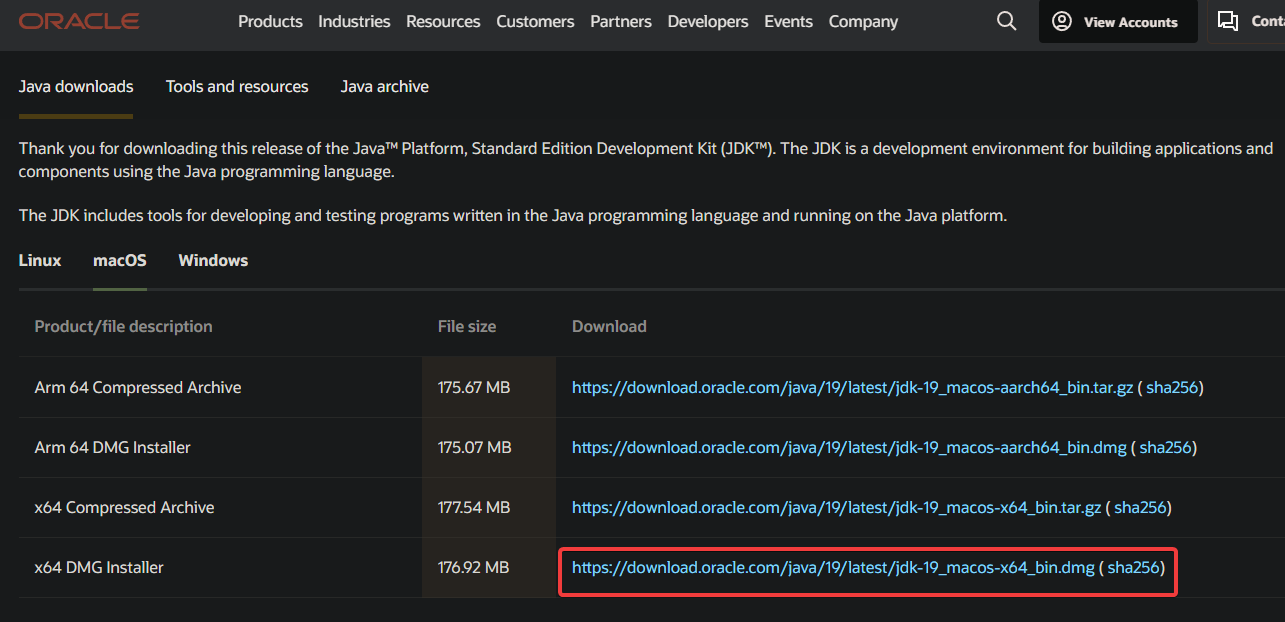
1. Open your favorite web browser, and navigate to Oracle’s official Java downloads page.
2. Next, click on the DMG link for the JDK version you want to install to download its DMG package to your Downloads directory. The tutorial goes with Java 19, the latest version at the time of this writing.
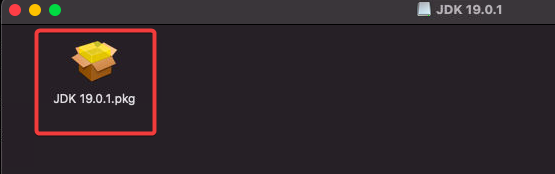
3. Once downloaded, double-click the DMG file to launch the installer.
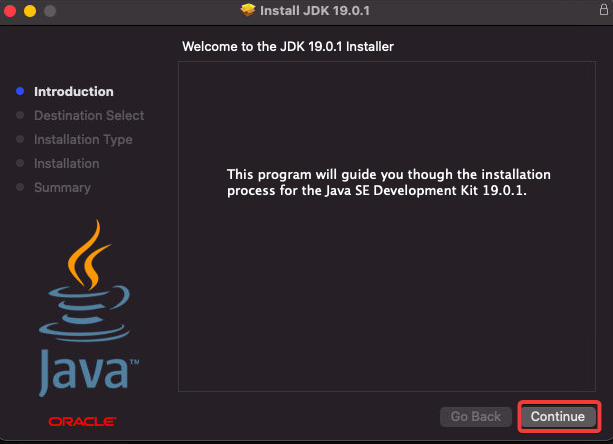
4. On the Introduction tab, click Continue to acknowledge the welcome page.
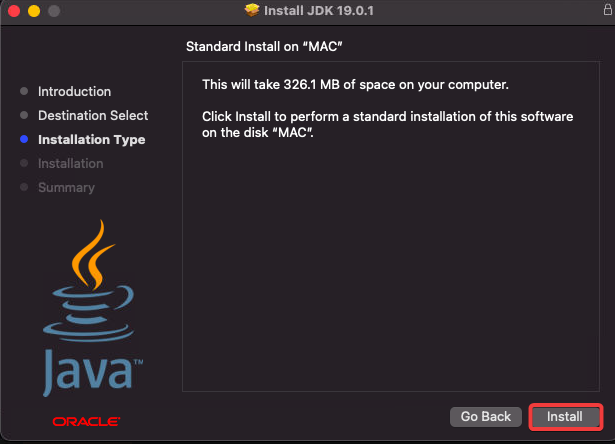
5. Now, click Install to the installation process.
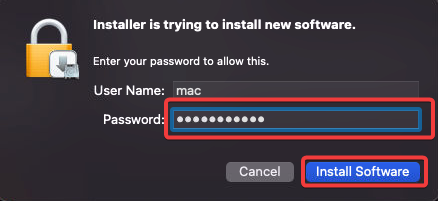
6. Enter your password when prompted and click Install Software to authorize the installation.
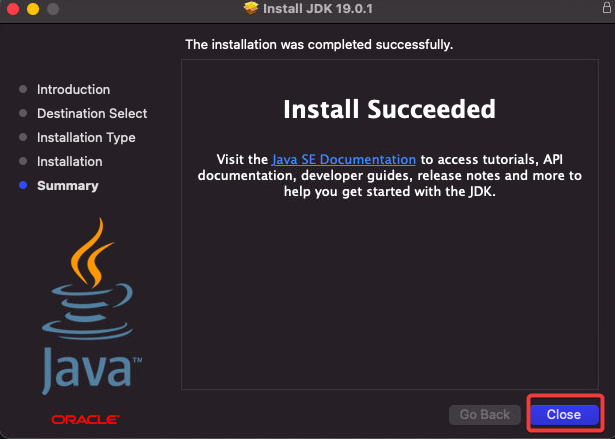
7. Once installed, click Close to close the installation wizard.
And that is it! You have now successfully installed Java on your Mac via the DMG package.
8. Finally, run the below command for the last time to check the installed Java version.
java -version
Switching Between Java Versions
Suppose one project requires Java 11, but another requires Java 19. If so, how do you switch between the two Java versions? Worry not! You can work on different Java versions, switching between each, on your Mac at will.
To switch between Java versions:
1. Run the below command to find out the available versions of Java installed on your computer.
/usr/libexec/java_home -VPick one version you want to switch to, as shown below.
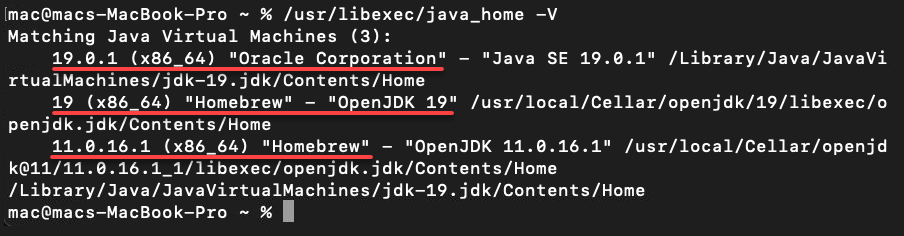
2. Next, run the below command to find the current default Java version.
/usr/libexec/java_homeAs you can see below, Oracle JDK 19 is currently the active or default Java version.

3. Run the below echo command to find the current shell ($SHELL).
echo $SHELLNotice in the output below that this tutorial uses the ZSH shell.

4. Now, run the below command to switch to a different Java version, replacing <version> with your preferred version.
These commands perform the following:
- export the path of a specific Java version to the JAVA_HOME environment variable, which tells Java to use the version you specified.
- source the profile and apply the changes.
💡 Perhaps you are on a Bash shell. If so, run the source ~/.bashrc command instead to source the profile.
export JAVA_HOME=`/usr/libexec/java_home -v <version>`💡 Switching to another Java version does not provide output, but you will later verify if the switch is a success.
5. Finally, run the below commands to verify the current Java -version.
echo $JAVA_HOME
java -version
The output below confirms the version switch is a success, as the current version is set to OpenJDK 11.

Creating Your First Java Project on Mac
Successfully installing Java and switching between versions do not tell if Java is working correctly. How do you test if Java works on your Mac? You will create a basic “hello world” program and use Java to compile and run the program.
To create a Java project:
1. Run the following commands to create a directory (mkdir) for your project (hello-world), and change the working directory (cd) into that directory.
These commands do not provide output, but you will verify the project files in the following steps.
# Create the hello-world directory
mkdir hello-world
# Change the working directory
cd hello-world
2. Next, create a file named HelloWorld.java in your preferred code editor, add the code below to the file, save the changes and close the file.
The code below is a simple Java program that prints the Hello World message to the console.
# Create the hello-world directory
mkdir hello-world
# Change the working directory
cd hello-world
3. Run the following javac command, which does not provide output, but compiles your program (HelloWorld.java).
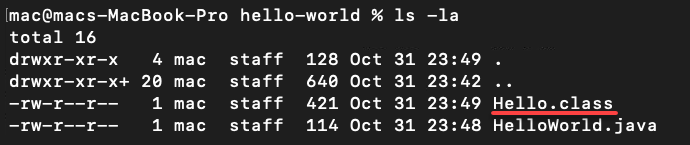
javac HelloWorld.java4. Now, run the command below to list (ls) all contents (-la) of the working directory (~/hello-world).
ls -laYou will see a new file named Hello.class is generated, as shown below. This file contains the bytecode for your program.
5. Lastly, execute the below command to run your program (Hello).
This command calls the Java Runtime Environment to execute your program, where the Hello class is loaded, and the main method is executed.
java HelloThe output below confirms that your program is working as expected and your Java installation is successful.

Conclusion
In this tutorial, you have learned many ways how to install Java on Mac and create a simple Java project. Java is one of the most popular programming languages in the world. Every nook and corner of the tech industry uses Java in some way or the other.
And at this point, you can now confidently build your projects. Moreover, since you can quickly switch between versions, you never have to worry about version compatibility.
With this newfound knowledge, why not build your own Java application and see how it works?