

In today’s fast-paced IT world, remote access is necessary for seamless connectivity and efficient operations. Luckily, with Microsoft Terminal Server Client (MSTSC), you can remotely access and gain control over another PC.
MSTCS is a command that runs Remote Desktop to access hosts or servers remotely. And in this tutorial, you will learn the basics of using MSTSC for remote access and an overview of its features.
Ready? Keep reading to rev up your remote control game!
Prerequisites
This tutorial is designed as a hands-on demonstration. To follow along, you will need a local and remote Windows host. This tutorial uses Windows 10 Pro for both hosts.
Note that your remote host must have a Windows Pro OS to allow incoming remote desktop connections. If you have a Windows Home, upgrade to Windows Pro before continuing with this tutorial:
Upgrade Windows 10 Home to Windows 10 Pro
Upgrade Windows Home to Windows Pro
Enabling the Remote Desktop Protocol (RDP)
RDP is a protocol developed by Microsoft that allows users to remotely access a Windows-based computer or server over a network. With RDP, you can connect to a remote computer and use its resources as if sitting in front of it.
To enable RDP on Windows, follow these steps:
1. Open PowerShell as an administrator in your remote server, and ensure the working directory is C:\Windows\System32.
2. Next, run the following ./reg add command to provide a registry modification with prompting confirmation (-f).
This command enables Remote Desktop connections as follows:
"HKLM\SYSTEM\CurrentControlSet\Control\Terminal Server"– The path to the registry key that controls Terminal Services settings./v– Specifies the name of the value to modify. In this case, thefDenyTSConnectionsvalue controls whether Remote Desktop connections are allowed or denied./t– Specifies the data type to modify, which, in this case, is a DWORD (double-word) data type (REG_DWORD)./d– Sets the value of thefDenyTSConnectionskey to0, allowing Remote Desktop connections.
./reg add "HKLM\SYSTEM\CurrentControlSet\Control\Terminal Server" /v fDenyTSConnections /t REG_DWORD /d 0 /f
3. Now, run the below ./netsh advfirewall command to set the firewall rule that allows Remote Desktop connections. This command ensures that the Windows Firewall does not block incoming Remote Desktop traffic via RDP.
./netsh advfirewall firewall set rule group="remote desktop" new enable=yes
Perhaps you no longer need to access the Windows machine remotely and want to improve the machine’s security. If so, run the below commands to block incoming Remote Desktop traffic.
./reg add "HKLM\SYSTEM\CurrentControlSet\Control\Terminal Server" /v fDenyTSConnections /t REG_DWORD /d 1 /f
./netsh advfirewall firewall set rule group="remote desktop" new enable=No
Connecting to a Remote Host in Full-screen Mode
Microsoft’s Remote Desktop Connection client provides a user-friendly GUI for remote connections, which is excellent. But the GUI may not be the most efficient solution for quickly accessing a remote host.
Fortunately, MSTSC offers a command line interface (CLI) that allows you to connect directly and gain control of your RDP server with just one command. In addition, MSTSC supports a full-screen mode that allows you to see more of the remote desktop session so that you can work more efficiently.
To connect to a remote host in full-screen mode:
Open PowerShell on your local machine, and run either of the ./mstsc commands below to connect to your remote host.
Ensure you replace the following accordingly:
<IP_Address>– The actual public IP address of your remote host.<Port>– The port you configured your remote host to use other than the default port (3389). Otherwise, omit the port to use the default one automatically.
# Connecting to the remote host with configured RDP port
./mstsc /v:<IP_Address>:<Port> /f
# Connecting to the remote host using the default RDP port (3389)
./mstsc /v:<IP_Address> /f
If you prefer to run the
mstsccommand regardless of the working directory, add the MSTSC’s path (C:\Windows\System32\mstsc) to the PATH environment variable. Once added, you can run the command like the one below:mstsc /v:<IP_Address>:<Port> /f
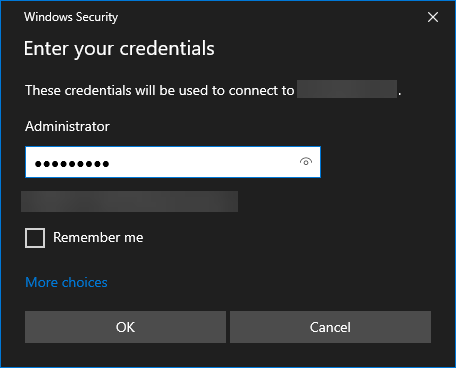
When prompted, provide your remote host credentials, as shown below, and click OK to authenticate the connection.
The output below shows a full-screen mode Remote Desktop Connection.

Customizing the Resolution for Remote Desktop Connections
You have seen how to connect to a remote host in full-screen mode, which helps if you work with many tools. But mind you, the Remote Desktop session’s resolution may not match your local display’s resolution.
Customizing the resolution for remote connections allows you to adjust the size of the remote desktop session.
To customize the resolution of your Remote Desktop connections:
Run the below command to connect to your remote host with a custom width (/w) and height (/h). Replace <Width> and <Height> with values representing your desired pixel resolution.
This command ensures the remote desktop session fits comfortably on your screen, and that text, images, and other elements are displayed clearly and legibly.
./mstsc /v:<IP_Address>:<Port> /w:<Width> /h:<Height>Notice below that the Remote Desktop session is just like a regular window, which you can maximize to the limit of the specified resolution.
Matching the Local Display Resolution Automatically
Customizing the resolution of your Remote Desktop connection works great if you are familiar with the correct values. But what if you prefer to match the resolution of your local display? The /span flag will do the trick, known as “spanning” mode for Remote Desktop connections.
Run the following command, appending the /span flag, to connect to your remote host while matching the resolution of your local display.
When the spanning mode is enabled, MSTSC automatically detects the resolution of your local display and adjusts the resolution of the remote connection to match it.
./mstsc /v:192.168.1.100 /span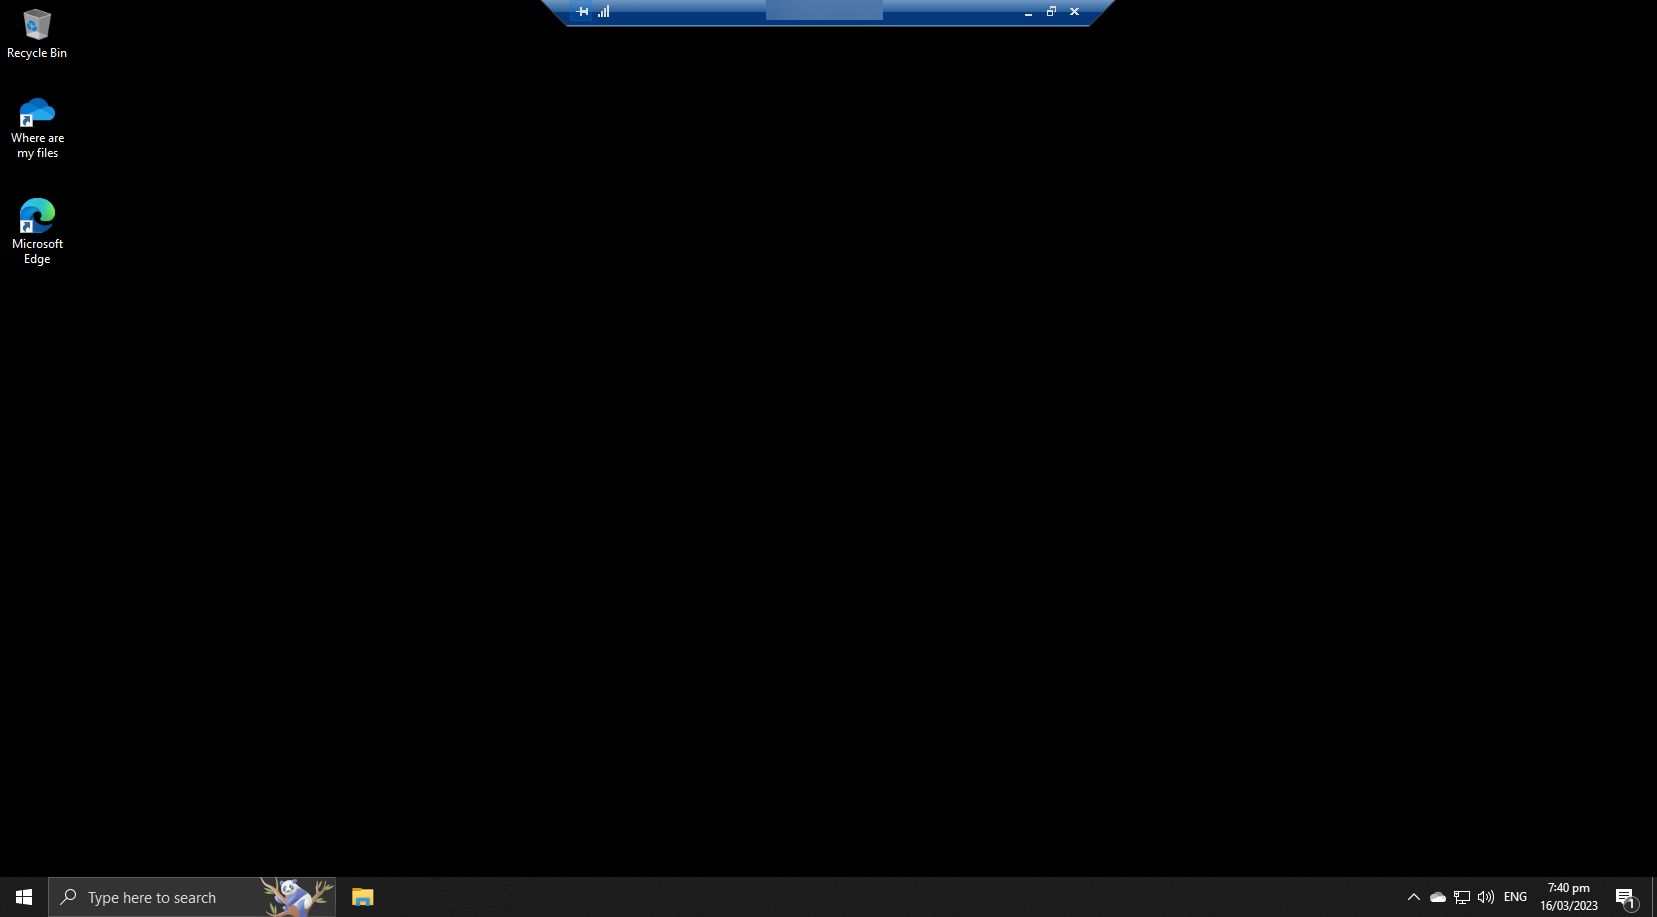
Connecting to a Remote Host in Public Mode
In addition to connecting to a remote host in full-screen and spanning modes, you can also connect to your remote host in public mode. This mode is useful when connecting to a remote machine from a public computer shared by multiple users.
When the public mode is enabled, the credentials you use to log into the remote host are not saved or cached. This behavior prevents other users from accessing your remote machine — phew!
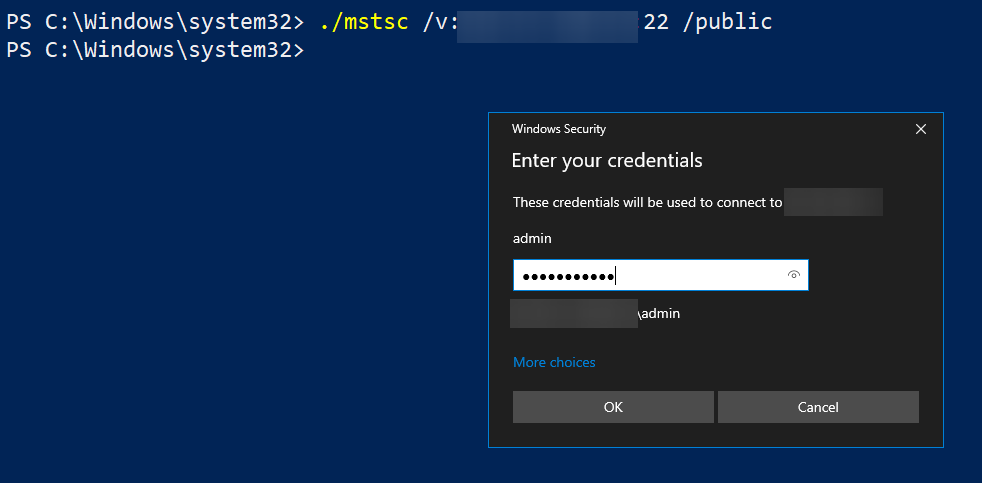
Run the following command to connect to your remote host in public mode (/public)
./mstsc /v:<IP_Address>:<Port> /publicYou may need to enter the credentials of the remote user account to gain access to the remote session. All changes you make during your remote session, including preferences and settings, are automatically discarded upon disconnecting the session.
Connecting to a Remote Host as An Admin
You have been accessing your remote host as a regular user, which is fine. But managing remote hosts typically requires administrative privileges.
For example, you may need to install a software package or access system settings only accessible from an administrator account.
Run the below command to connect to your remote host with custom resolution as an /admin, which has elevated privileges and can perform administrative tasks on the remote host.
./mstsc /v:<IP_Address> /w:900 /h:720 /admin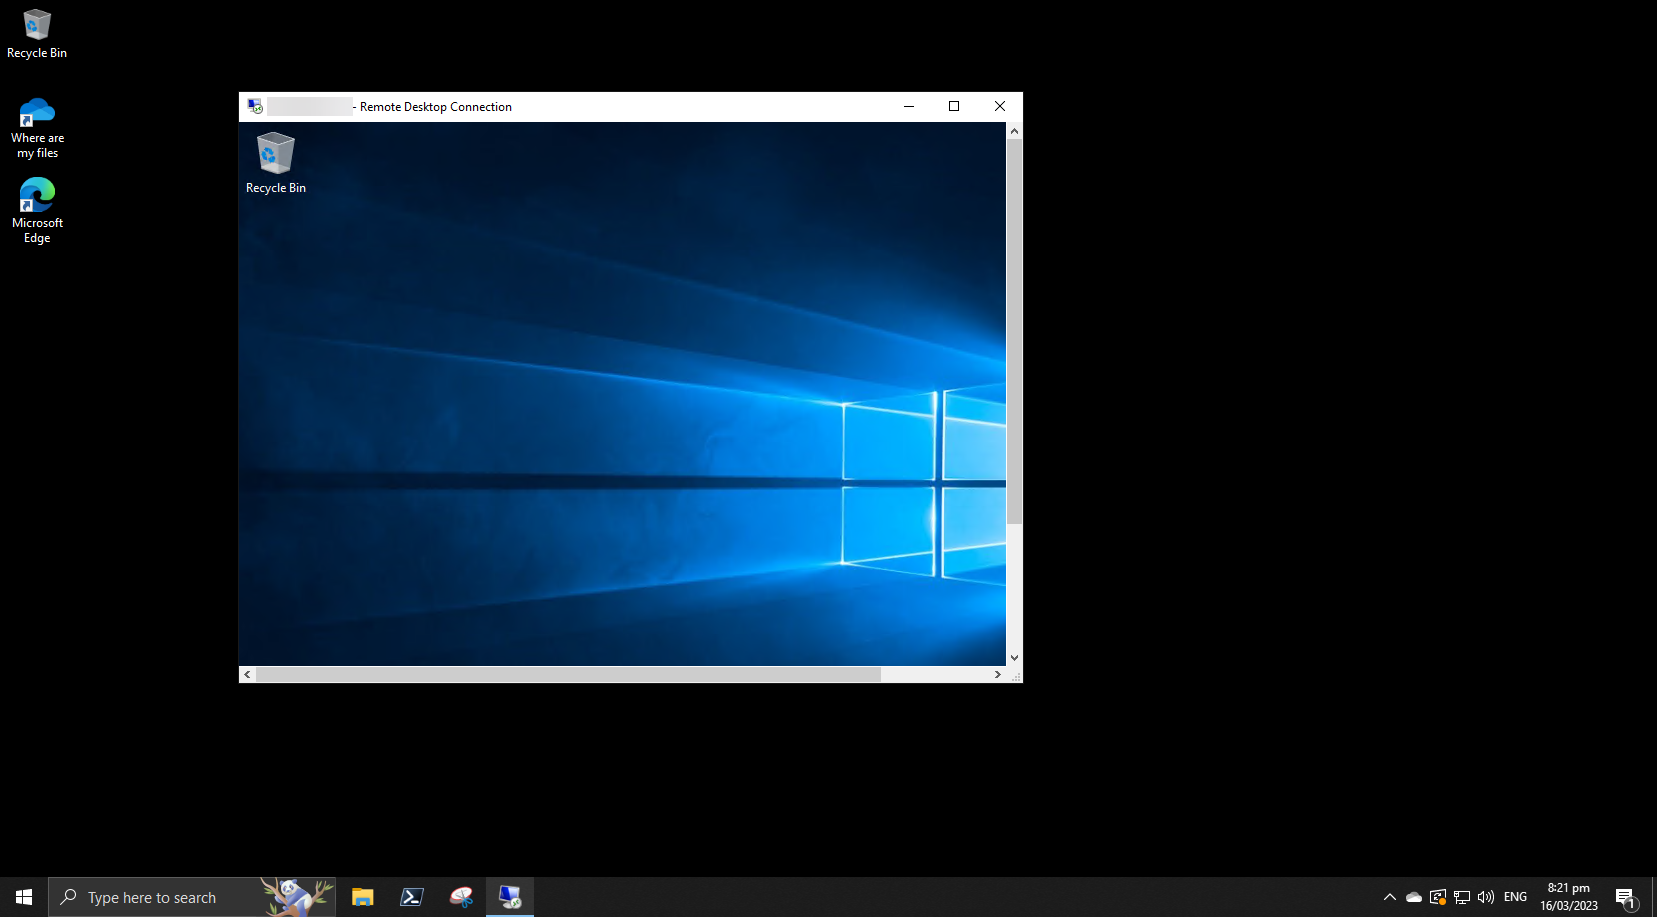
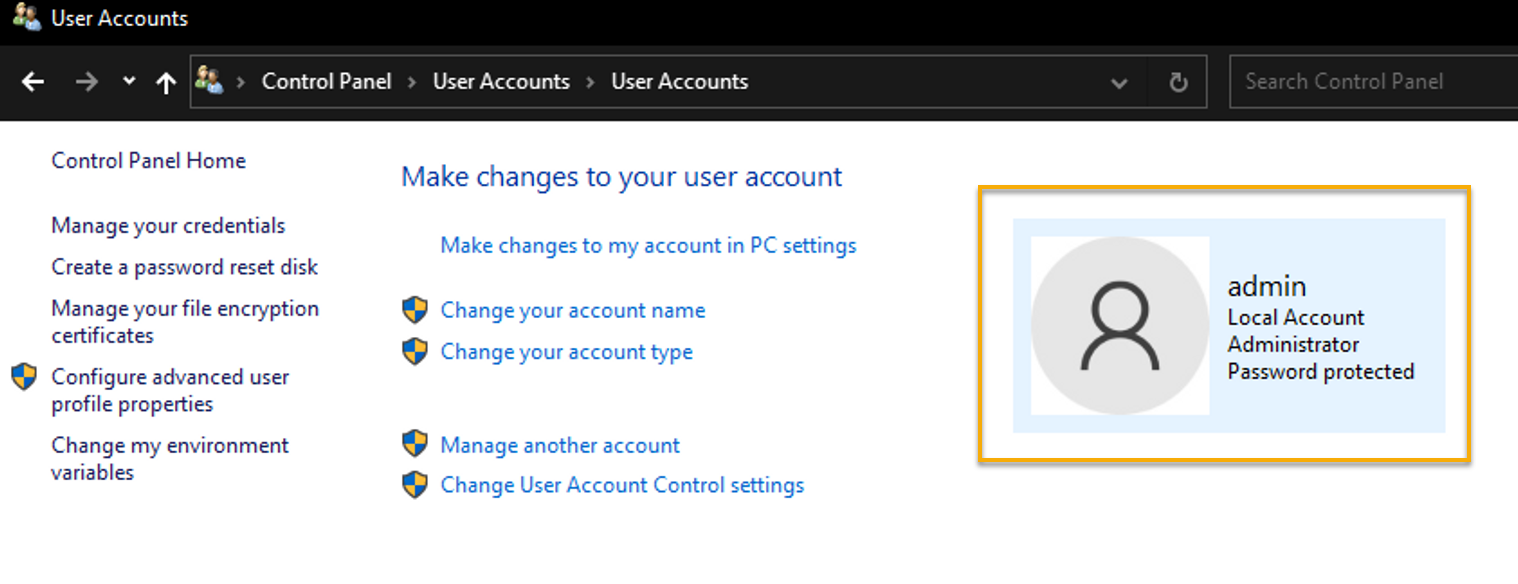
Now, open the Control Panel and navigate to the User Accounts section.
Do you see a similar output as below? Congratulations! You have successfully connected to your remote host as an admin.
Connecting to Remote Host via an Existing .rdp File
So far, you have successfully connected to your remote host in different modes. But specifying different parameters each time you connect to your remote host can be tedious in the long run.
Why not save a copy of the Remote Desktop connection settings to a .rdp file instead? A .rdp file contains all settings needed to establish a connection to a remote host, which you can use instead of manually entering MSTSC command-line arguments.
When purchasing a remote control service, you usually download a .rdp file from service providers, such as Amazon Web Services and Azure RDP.
To establish a connection to a remote host using an existing .rdp file:
Run the following command, replacing <RDP_FILE_PATH> with the full path of your existing .rdp file to connect to your remote host according to the settings specified in your .rdp file.
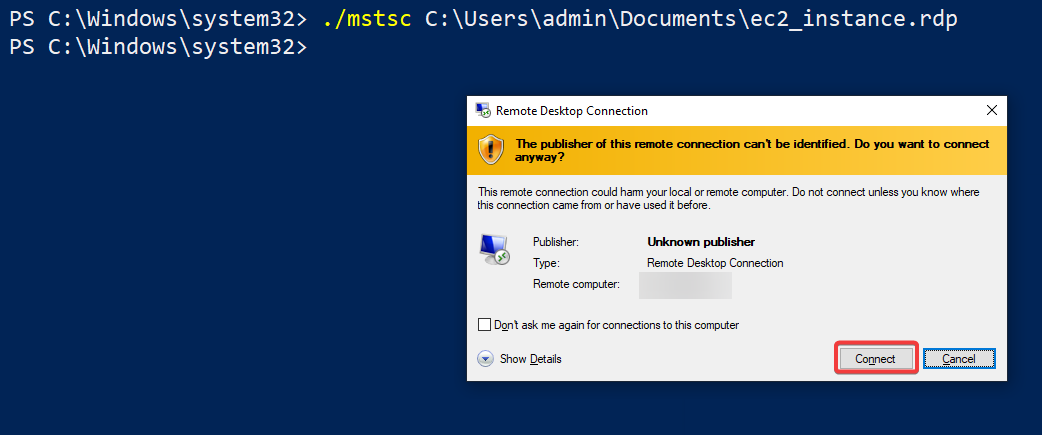
./mstsc <RDP_FILE_PATH>The below example shows how to connect to an AWS EC2 instance using an existing .rdp file (ec2_instance.rdp) located in the C:\\Users\\admin\\Documents\\ folder.
./mstsc C:\Users\admin\Documents\ec2_instance.rdp Ignore the security warning message, and click Connect to proceed.
Modifying the Settings of an Existing .rdp File
Perhaps your .rdp file does not contain all the settings you need to establish a connection, or you wish to modify the settings. Either way, the /edit flag will come in handy.
To modify the settings of your existing .rdp file:
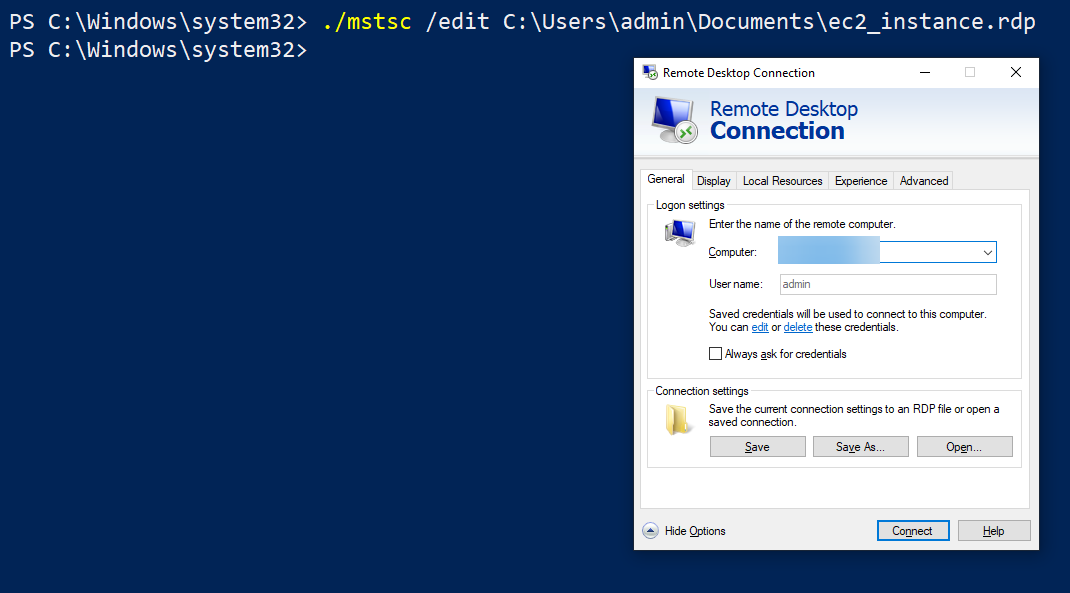
Run the following command, appending the /edit flag, which opens the .rdp file in the Remote Desktop Connection settings window.
./mstsc /edit <RDP_FILE_PATH>Once you are happy with the modified settings, click Save to save the changes or Save As to save the settings to a new .rdp file.
Conclusion
Remote access to a host or server lets you access files without carrying thumb drives or hard drives back and forth. And in this tutorial, you have learned how to enable RDP and use MSTSC to connect to a remote host in different modes, resolutions, and even via an existing .rdp file.
By leveraging MSTSC, you can efficiently manage remote computers and workstations, regardless of physical location.
Now, you can confidently use MSTSC as your CLI tool to establish secure and efficient remote connections to remote hosts. Why not try qwinsta or rwinsta commands next to manage your remote desktop sessions?