Finding Docker tiresome and want to try another? No doubt, Docker works great in containerizing applications. But if you’re looking for a more lightweight tool without compromising efficiency, consider the Podman for Windows application.
Containerized applications have been growing more complex. As a developer, you’ll need tools to help you manage containers effectively. And in this tutorial, you’ll learn how to leverage Podman Windows for container management.
Don’t let Podman stand long in Docker’s shadow, and start managing containers with this deamonless tool!
Prerequisites
This tutorial will be a hands-on demonstration. If you’d like to follow along, be sure you have the following.
- A Windows system greater than Windows 10 version 1903 with Build 18362.
- A Linux system installed as a subsystem – This tutorial uses WSL v2 with Kali Linux, but any Linux distro works.
Installing the Podman for Windows Application
Podman is a container engine developed by Red Hat for building, managing, running, and deploying containers without a daemon.
With the absence of a daemon:
- Podman is a lightweight container engine compared to Docker, which benefits users with low-end computers.
- Prevents users from having root privileges to the server, increasing security.
But before taking advantage of the Podman Windows application, you’ll have to install this tool on your Windows machine.
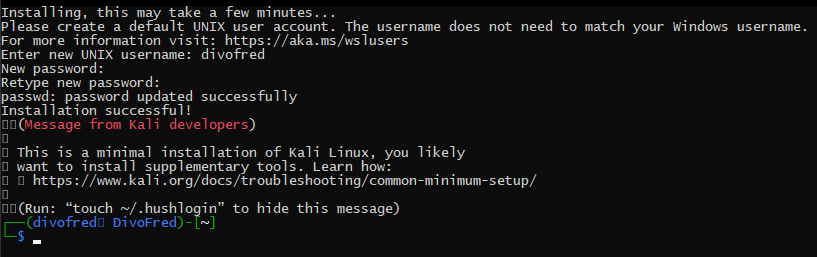
1. Launch the Kali Linux app (or any other distro app you installed, like Ubuntu), which opens a terminal.
Enter your username and password to log in, and you’ll get an output similar to the one below.
2. Next, run the apt-get update command to update package information from all configured sources.
sudo apt-get -y update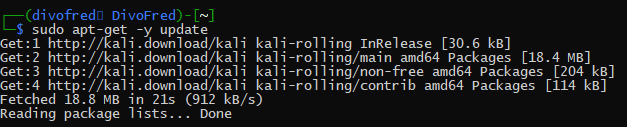
3. Next, run the following apt-get install command to install podman.
sudo apt-get -y install podman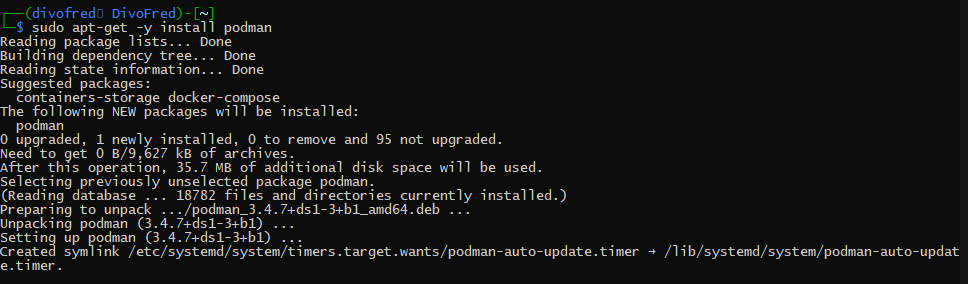
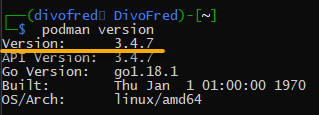
4. Lastly, run the below podman command to check the version of Podman installed.
podman versionThe latest version of Podman as of this writing is 3.4.7, as shown below.
Setting up a NodeJS Application
You’ve just installed the Podman Windows application, but how do you know it actually works? Setting up an application is the most suitable way to test Podman, in this case, a NodeJS application.
To set up a NodeJS application:
1. Run each command below to create a new directory (mkdir), and switch to that directory (cd). This directory will contain all the project files you’ll create for your NodeJS application in this tutorial.
Note that you can name the directory differently, but this tutorial’s choice is Podman.
mkdir Podman
cd Podman
2. Create a file called server.js with your preferred text editor.
3. Add the following code to the server.js file, save the changes and close the file.
The code below is the source for your NodeJS application, which creates an express GET route to /. Once added, save the changes and close the file.
//Importing and creating an instance of express
const express = require("express");
const app = express();

//Setting PORT to 5000.
const PORT = 5000;

// Creating the `GET` route
app.get("/", (req, res) => {
  res.send("<h2>Welcome Friends</h2>");
});

//Starting the express server
app.listen(PORT, () =>
  console.log(`Server running on port ${PORT}`)
);
4. Lastly, create another file called package.json, and add the following code to the file. This file initializes your NodeJS application and installs express as a dependency.
Change some values in the code below, like for the author or the description, as you prefer. Once changed, save the changes and close the file.
{
  "name": "podman",
  "version": "1.0.0",
  "description": "Podman for Windows",
  "main": "server.js",
  "scripts": {
    "start": "node server.js"
  },
  "keywords": [],
  "author": "Fredrick Emmanuel",
  "license": "ISC",
  "dependencies": {
    "express": "^4.18.1"
  }
}
Building a Custom Image
Now that you have created an express application, the next step is to build a customized Image. A customized image allows you to add your source code to the image and the configurations for your image.
Building a custom image in Podman demands a Containerfile or a Dockerfile. By default, Podman uses Containerfile to build a custom image.
This tutorial uses a Containerfile to demonstrate how custom images are created in Podman, but the commands also work with a Dockerfile.
Create a new file named Containerfile, populate the code below, save, and close the file.
The following code creates a custom image using node:18-alpine3.15 (a lightweight NodeJS) as the base image.
# Sets the base image of the application to the node alpine's official image.
FROM node:18-alpine3.15
# Sets the Working Directory as "/server"
WORKDIR /server
# Copies the package.json file into "/server" and runs npm i
COPY package.json /server
RUN npm i
# Copies the entire source code into "/server"
COPY . /server
# Specifies the port the node app will be running on
EXPOSE 5000
# Runs "node server.js" after the above step is completed
CMD ["node", "server.js"]
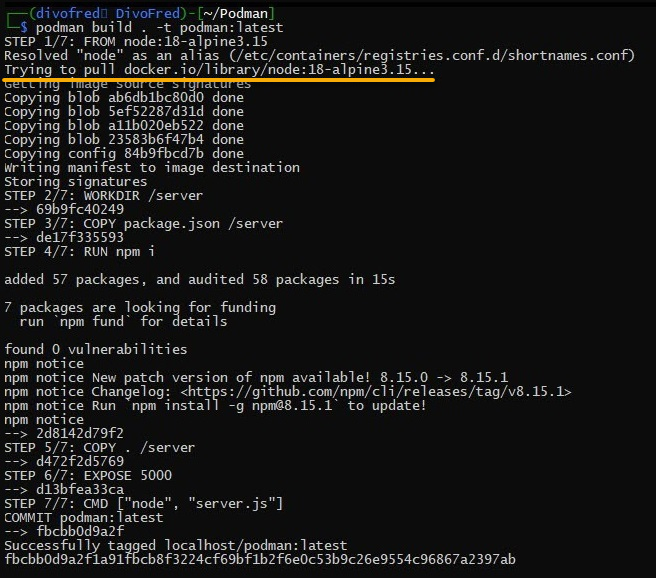
Now, run the podman build command below to build a customized image called (-t) podman with a tag latest in your working directory (.).
podman build . -t podman:latest
As you can see below, Podman Windows pulls the node:18-alpine3.15 base image from Docker’s registry.
Setting up Podman’s Search Registry
Unlike Docker, Podman searches for images in various registries like Docker Hub, Quay.io, Red Hat, and many other registries.
To specify the registry to search first before searching others:
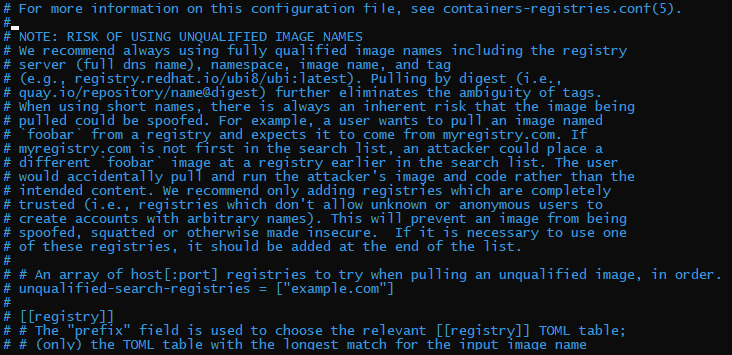
Open the the registry configuration file for Podman (/etc/containers/registries.conf) in your text editor. Editing the configuration file needs administrative privilege, so provide your password when prompted.
The configuration file should be like the one below.
Now, add the following line to the registry configuration file to specify the search chain. Feel free to edit the search configuration to your taste, save the changes and close the file.
The code below configures Podman to search for images in registry.fedoraproject.org before searching other registries.
unqualified-search-registries = ['registry.fedoraproject.org', 'registry.access.redhat.com', 'registry.centos.org', 'docker.io']

Starting a Container in Podman Windows
You’ve just created a custom image and configured Podman’s search registry. But this tutorial would be for nothing if the resources you set up don’t work.
Now, there’s only one thing left to accomplish, starting up the container using the custom image you created.
1. Execute the podman run command below to start a container with the podman:latest custom image on port 5000 (-p 5000:5000) in detach mode (-d).
podman run -p 5000:5000 -d podman:latestOn the output below, the command returns the ID of the container.

2. Next, run the following podman ps command to ensure the container runs.
podman psBelow, you can see the container is running (Up).

3. Finally, run the curl command below to ping the container.
curl localhost:5000You can see that the output below returns the Welcome Friends message you specified in your NodeJS application. This output indicates your container is working correctly.

Conclusion
Container orchestration tools, like Podman Windows, are just one of the essential web development technologies today. And in this tutorial, you’ve learned how to leverage Podman for Windows and manage containers so that you can package and deploy software to your servers.
Do you think Podman is a suitable alternative to Docker? Try building a more complex app to get the answer!