Are you struggling to manage access to your AWS resources as your organization grows? Fear not! AWS Security Token Service (STS) is here to save the day.
With AWS STS assume role privileges, you can grant temporary access to your AWS resources to users and applications without needing long-term credentials. And in this tutorial, you will learn to manage your resources more efficiently while keeping them safe and secure.
Read on and gain complete control of your AWS infrastructure and resources with ease!
Prerequisites
This tutorial will be a hands-on demonstration. To follow along, be sure you have an AWS account with active billing enabled, but a free tier account is sufficient.
Creating an IAM User with Zero Access
Before you can use AWS STS assume role privileges, you must first create an IAM user with no permissions assigned to them. This action may seem counterintuitive but it is crucial because IAM users cannot directly assume roles. They must first acquire temporary security credentials by assuming a role through the AWS STS service.
To create an IAM user with zero permissions, follow these steps:
1. Open your favorite web browser, and log into the AWS Management Console with your root AWS account.
2. Next, search for and select IAM from the list of services to access the IAM console.
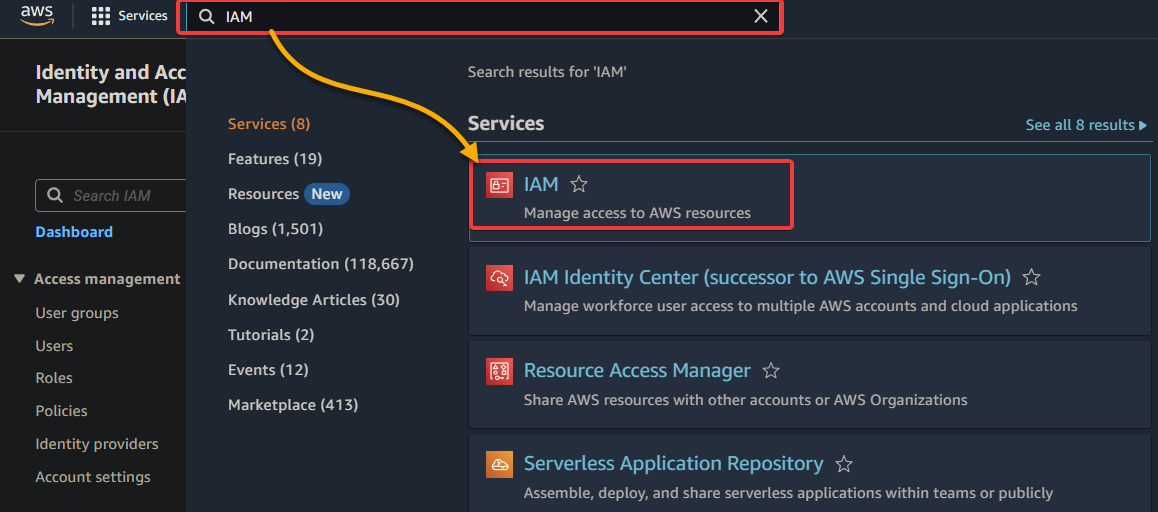
3. On the IAM console, navigate to Users (left pane), and click Add User to initiate adding a new user.

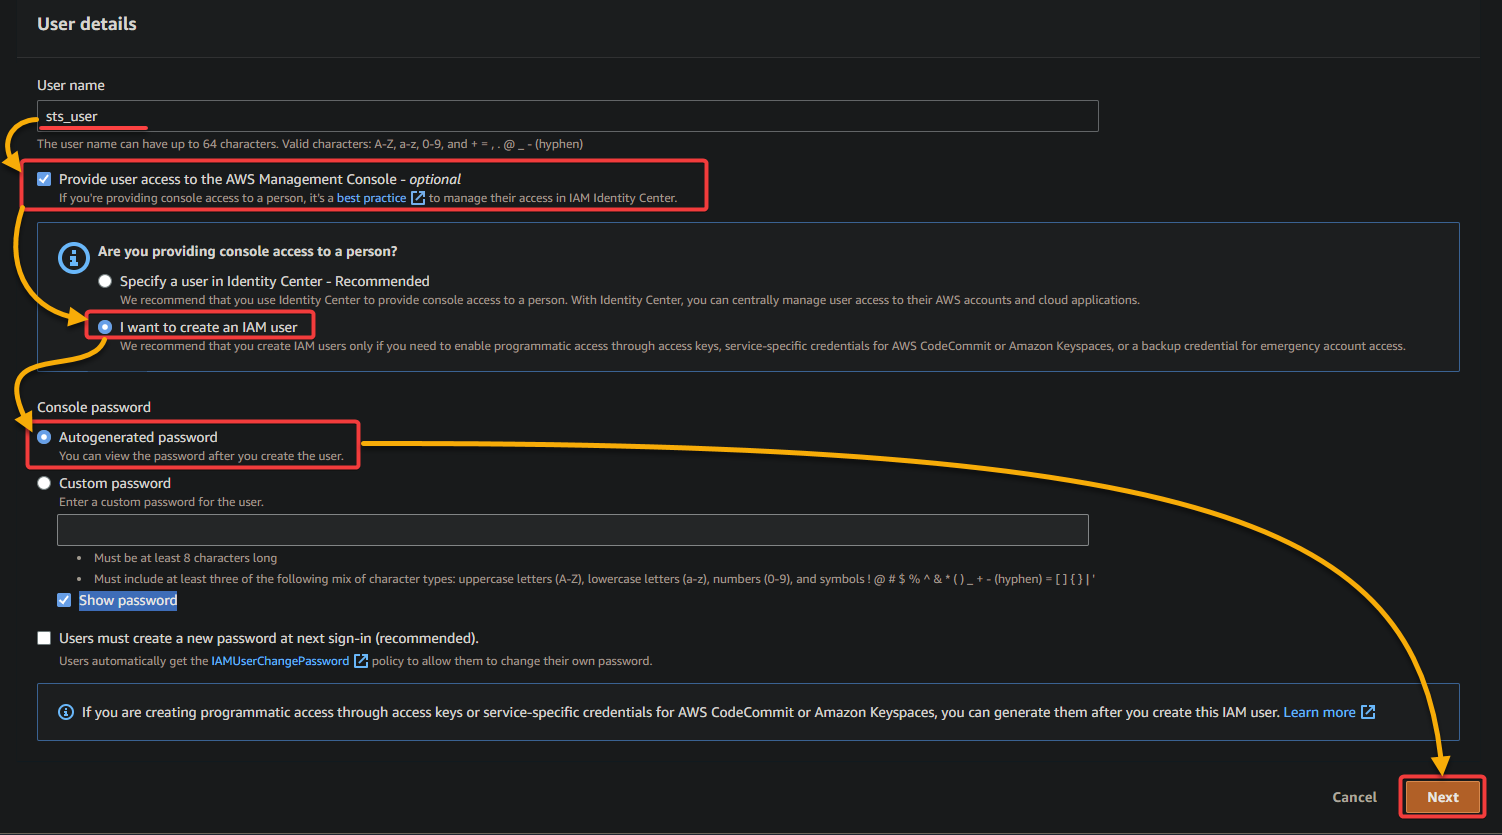
4. Now, configure the user details below. This action lets your IAM user sign in to the AWS Management Console with their username and password.
- User name – Provide a name for the new user, and tick the checkbox below to Provide user access to the AWS Management Console.
- Select the I want to create an IAM user option since you are creating an IAM user.
- Console password – Choose the Autogenerated password option to generate a password you can change later.
Once configured, click Next to continue the IAM user creation.
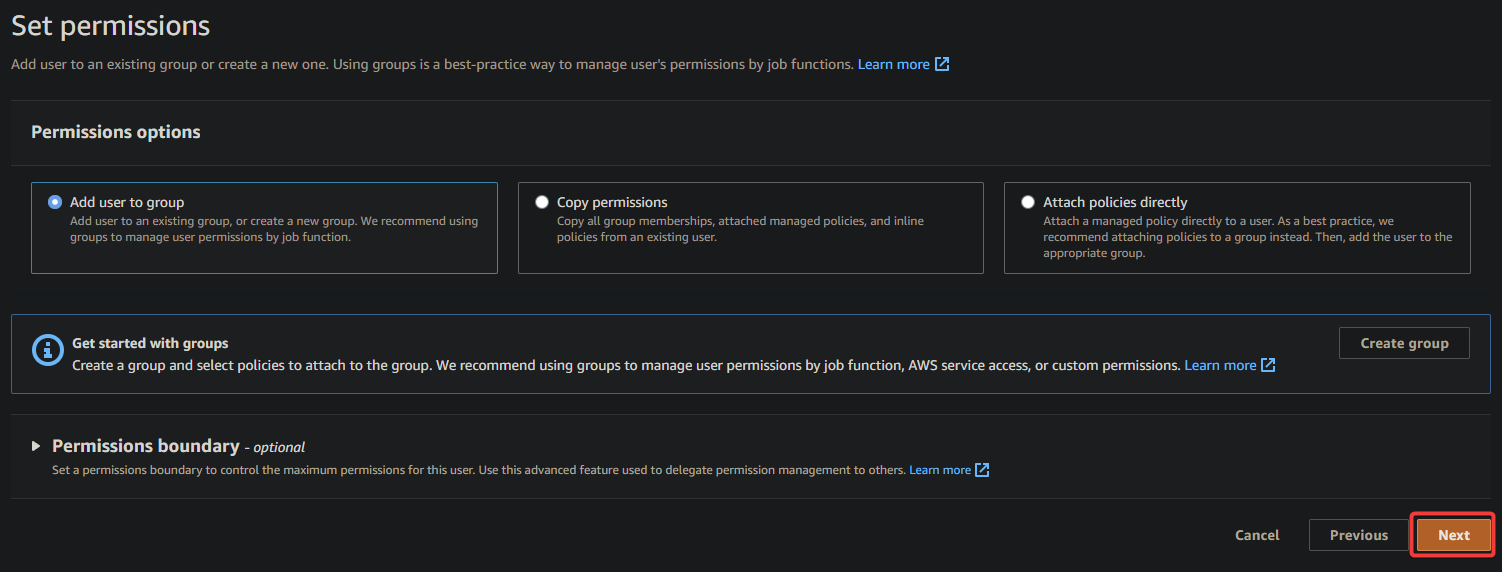
5. On the next page, leave the defaults as is, and click Next to skip setting user permissions.
There is no need to assign any permissions to this user since you are creating one with zero permissions and access to the AWS Management Console.
With zero permissions, users are prevented from taking action until they assume a role that grants them the necessary permissions.
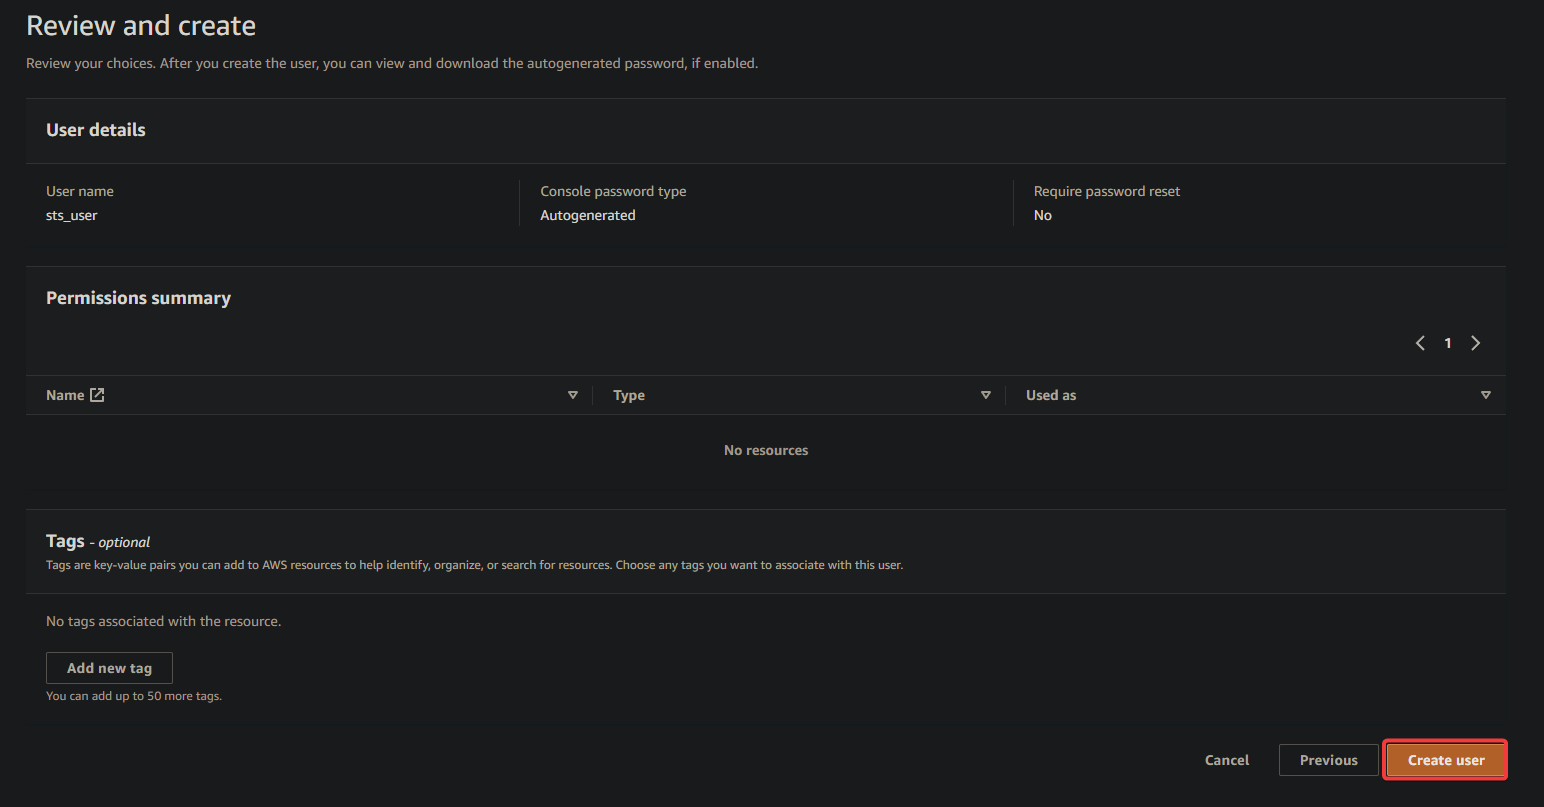
6. Next, review your configured user details, and click Create User to finalize creating the IAM user.
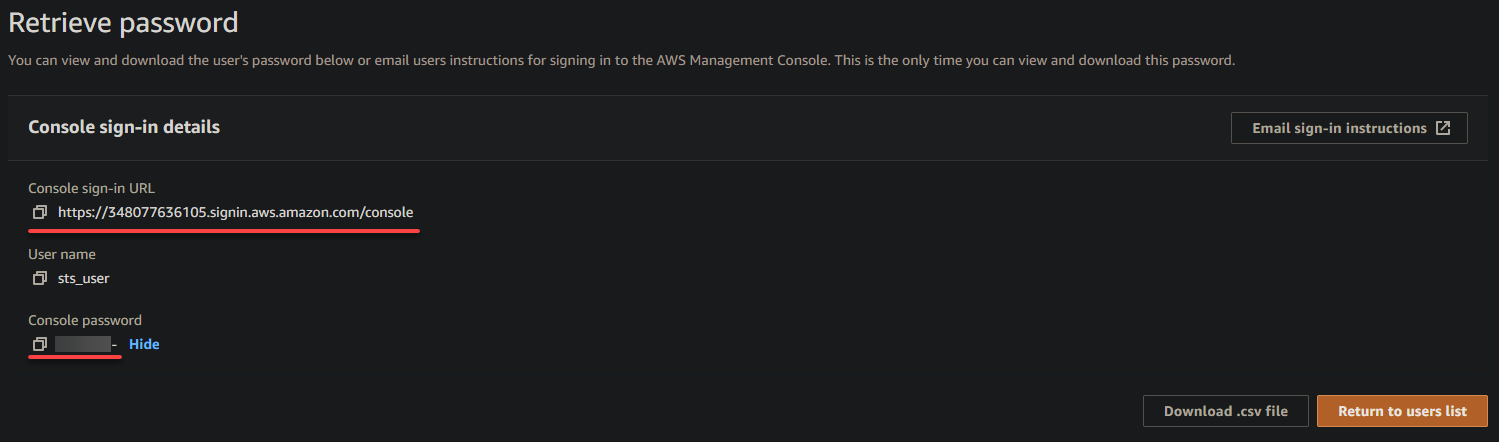
7. Copy and save the sign-in URL and password of the IAM user. You will need this information to sign in with the IAM user later.
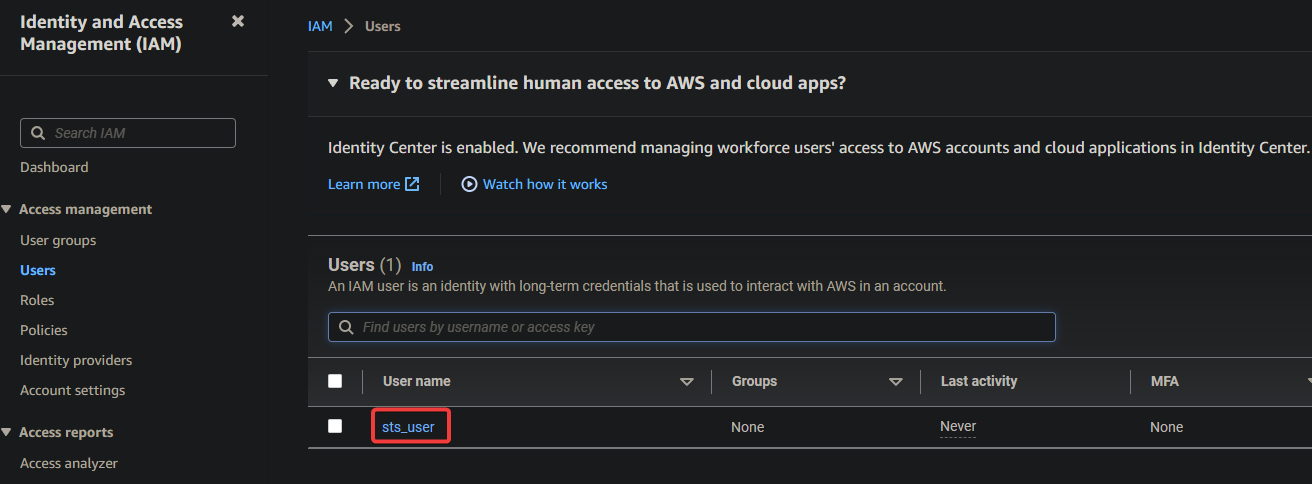
8. Now, return to the IAM console, navigate to the Users page (left pane), and click the newly-created user’s name to access its Summary page.
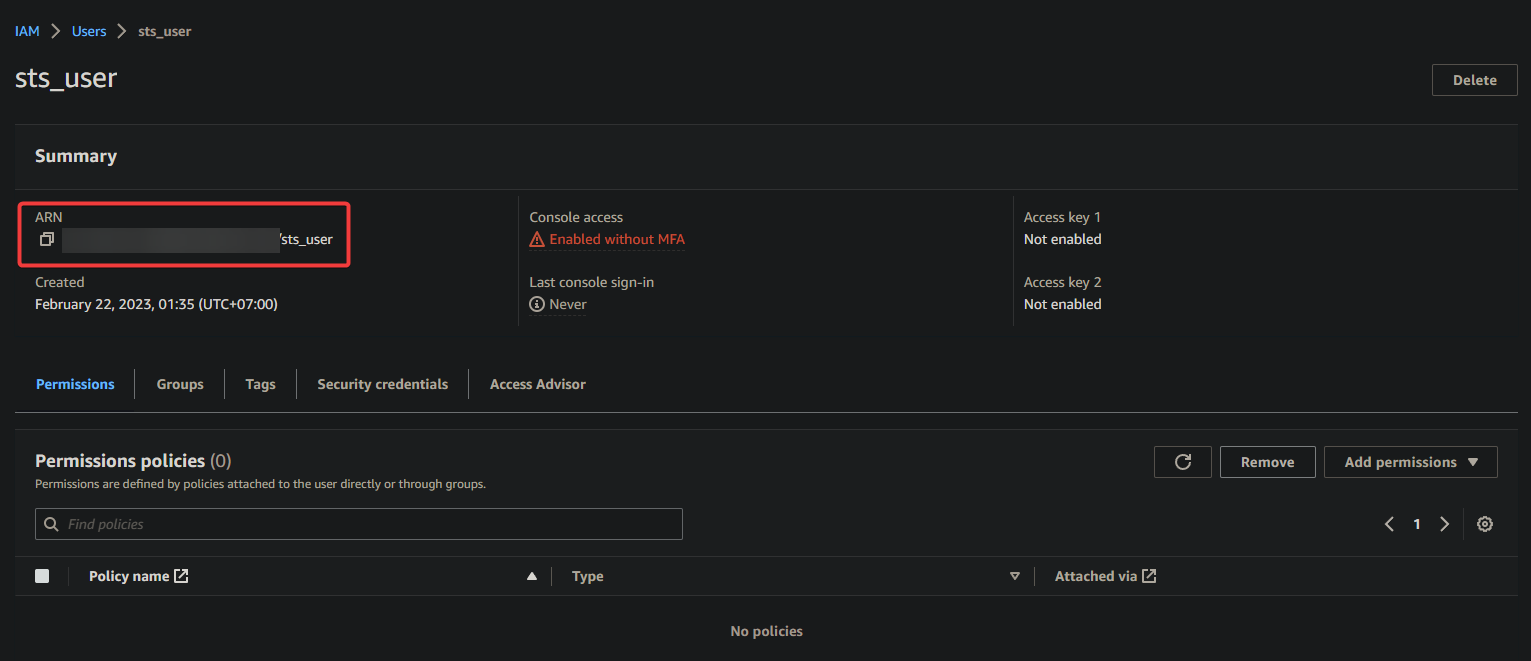
9. Lastly, on the Summary page, take note of the user’s Amazon Resource Name (ARN), the user’s unique identifier. You will need this ARN later when you assign a role to the user.
Preparing a Custom Trust Policy
With a dedicated IAM user created, you are ready to assume the role, granting access to AWS resources. But for an IAM user to assume a role, the role must first trust the user.
By creating a custom trust policy, you will establish a “trust relationship” between the IAM user and the role. This trust relationship specifies which users or accounts can assume the role and under what conditions.
To prepare a custom trust policy, follow these steps:
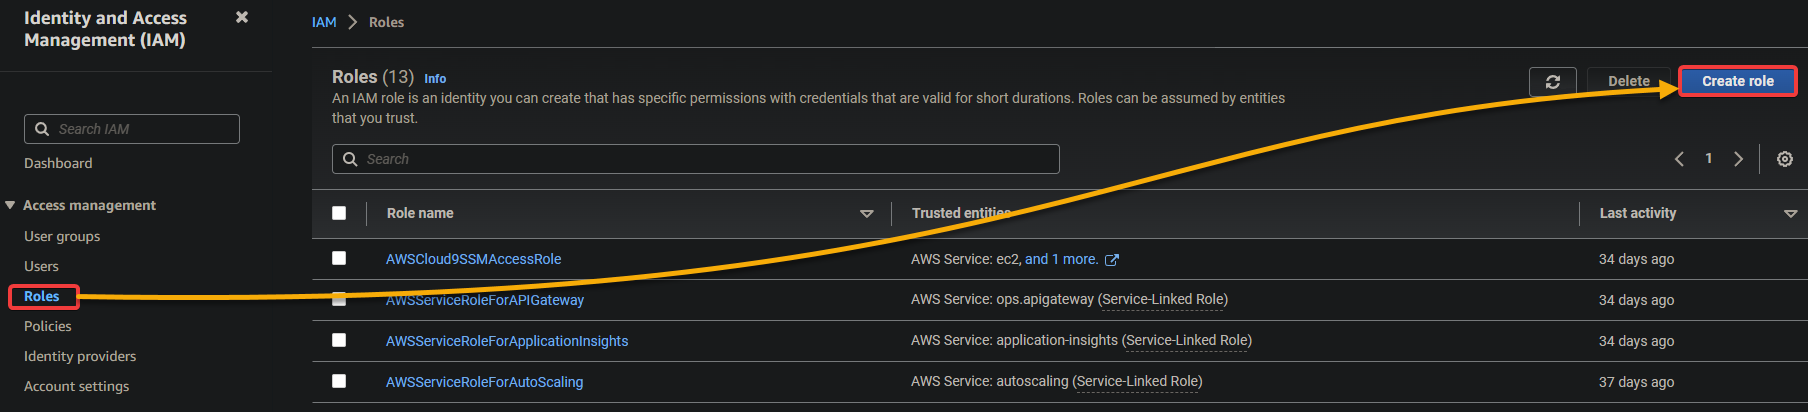
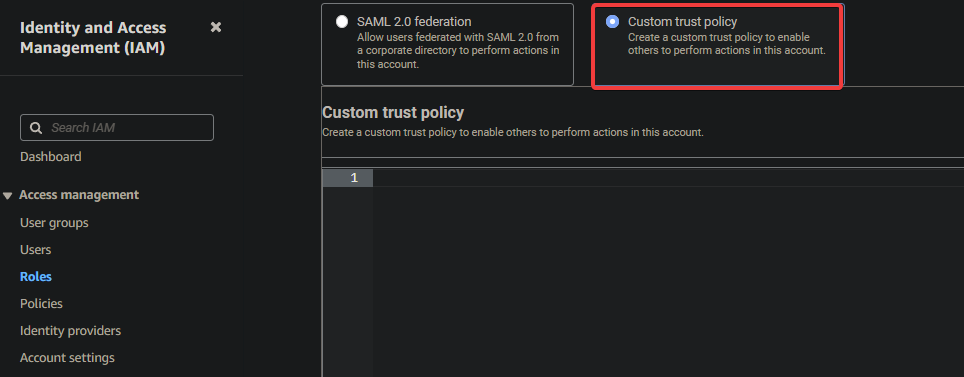
1. Navigate to Roles (left pane) in the IAM console, and click Create role to initiate creating a new role.
2. Next, click the Custom trust policy option to create a custom policy.
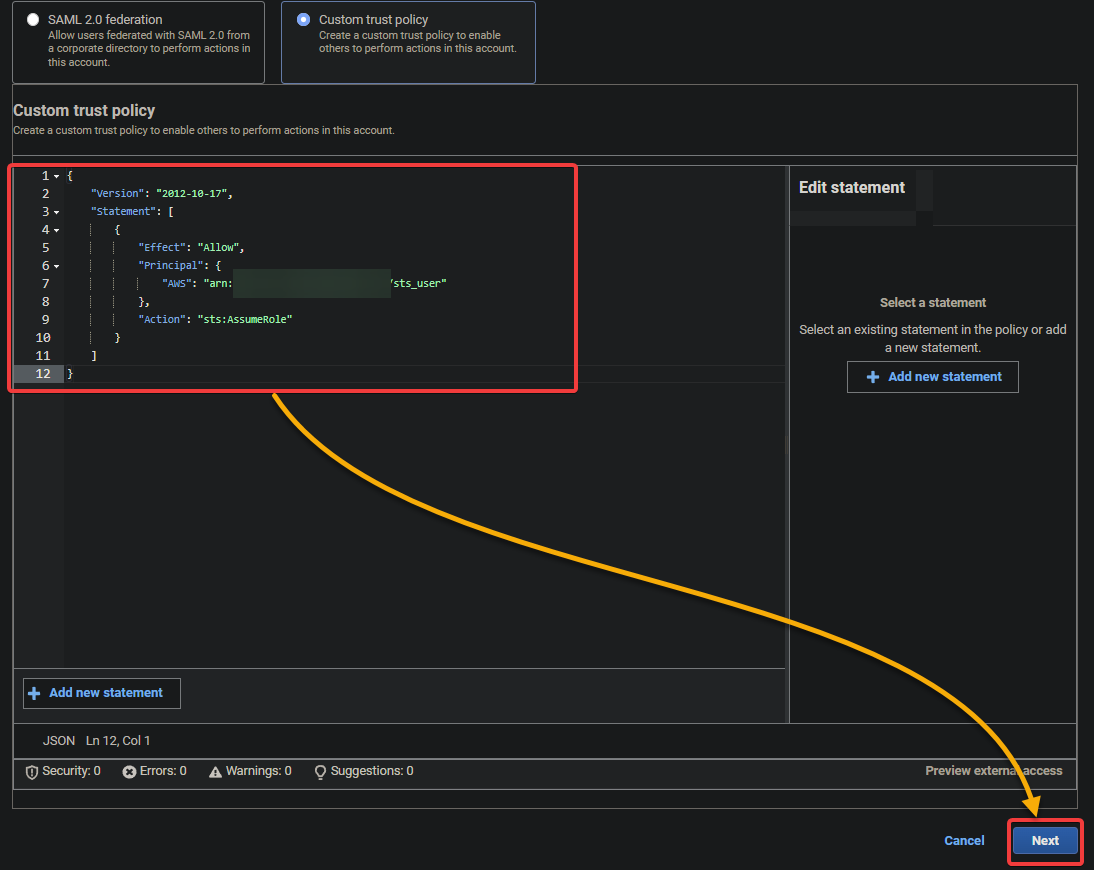
3. Enter the following policy into the text field, as shown below, and click Next. Replace YOUR_ARN with your IAM user’s ARN that you noted in the last step of the “Creating an IAM User with Zero Access” section.
Below is a basic example of a custom trust policy that allows a specified IAM user or role to assume a specific IAM role with the following fields:
| Field | Function |
|---|---|
| Version | Specifies the version of the policy language. |
| Statement | Contains the policy statement(s). |
| Effect | Specifies whether the statement allows or denies access, with Allow, in this case, granting access. |
| Principal | Specifies the entity allowed to assume the role; in this example, it is an empty string. |
| Action | Specifies the action the IAM user or role is allowed to perform. The sts:AssumeRole value allows the user to assume the specified IAM role. |
{
    "Version": "2012-10-17",
    "Statement": [
        {
            "Effect": "Allow",
            "Principal": {
               "AWS": "YOUR_ARN"
            },
            "Action": "sts:AssumeRole"
        }
    ]
}
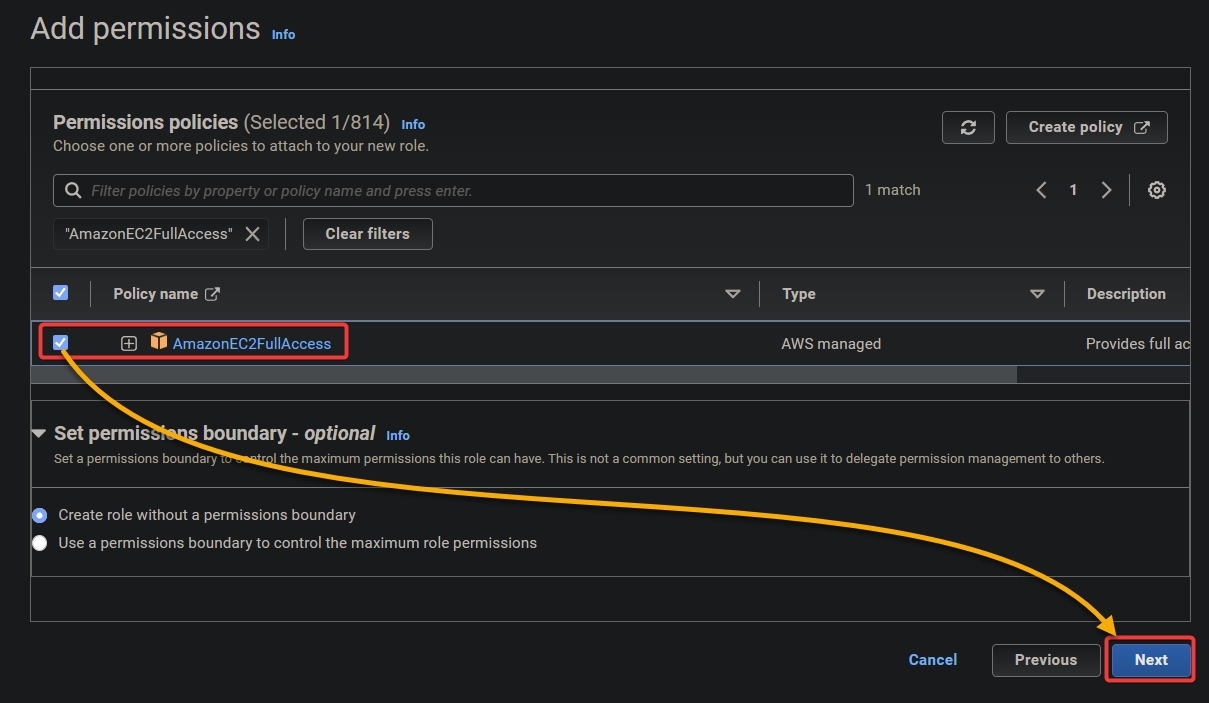
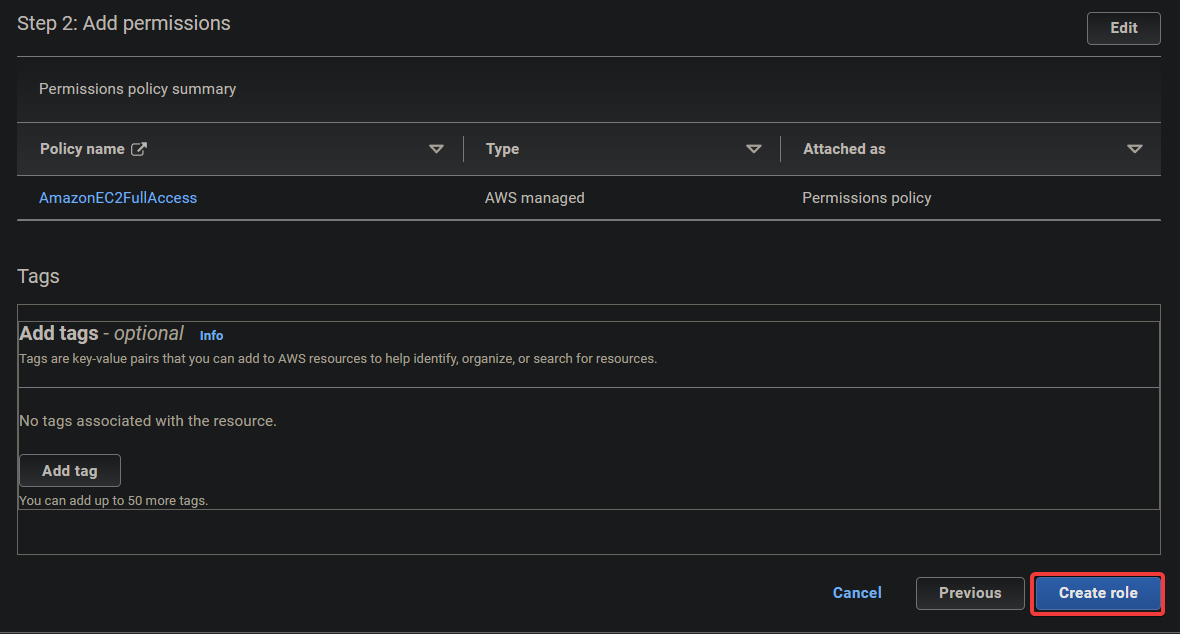
4. On the next page, search for and select AmazonEC2FullAccess from the list of policies that appears, and click Next. This policy grants full access to all EC2 resources.
5. Next, provide a name for your custom trust policy (i.e., AWSEC2FULLACCESS).
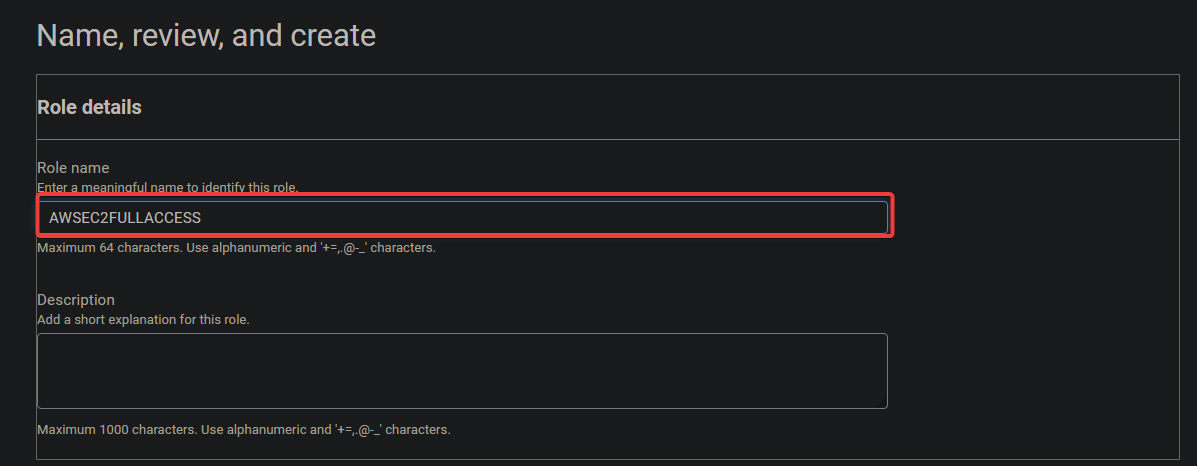
6. Keep other settings as is, and click Create role to finalize creating the role.
At this point, the role should be assumable by the IAM (sts_user). When assumed, the user will have access to all EC2 resources, like listing, creating, and deleting EC2 instances, etc.
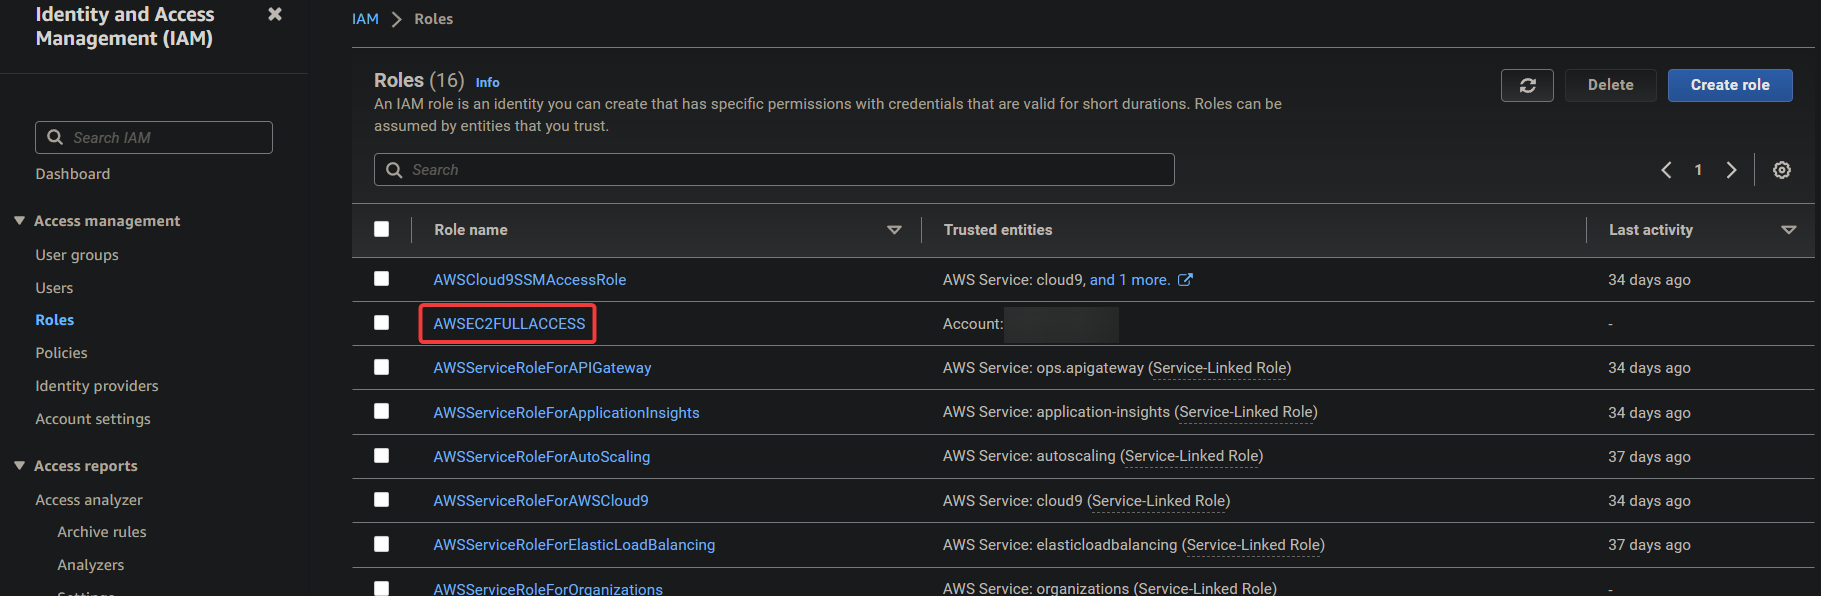
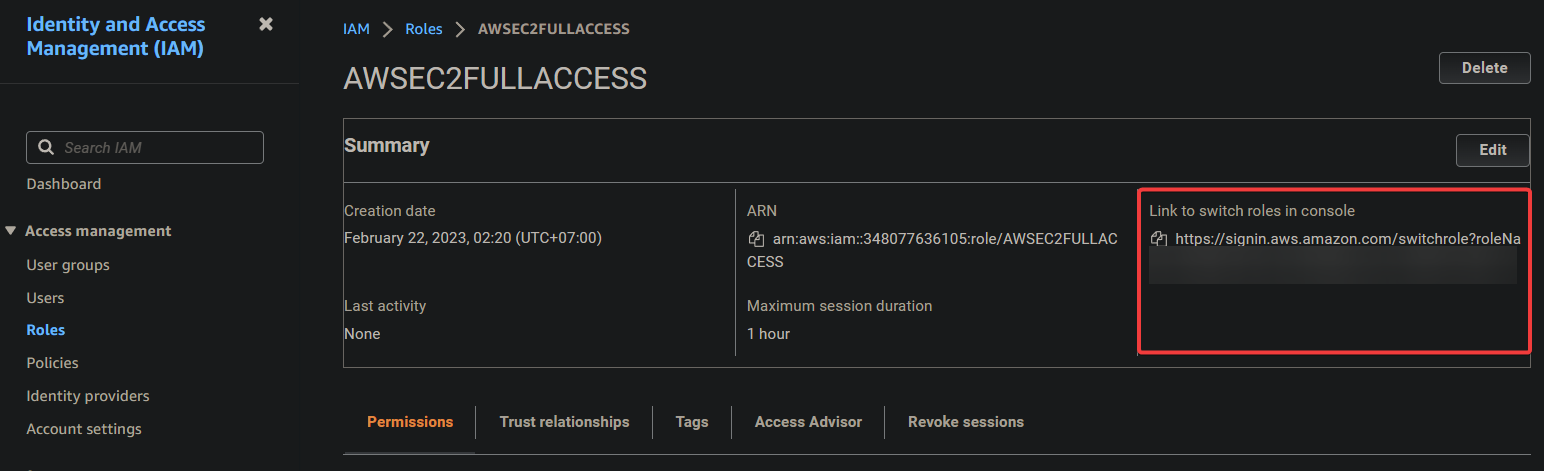
7. Click on the newly-created role, as shown below, to view its details.
8. Ultimately, copy the Link to switch roles in console and save it. You will need this link later to switch roles in the console when you sign in with the IAM user (sts_user).
Switching and Assuming a Role with an IAM User
After creating a role, you can now assume the role with your dedicated IAM user. You will log in to the AWS console with your IAM user and switch to the role you created to test the EC2 access.
To see how to switch and assume a role with an IAM user:
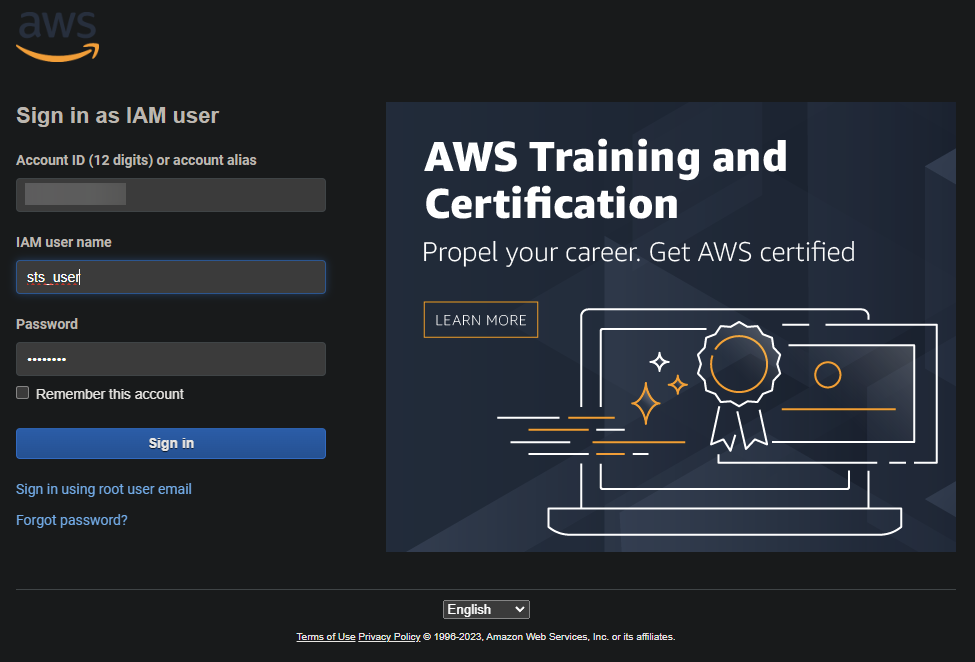
1. Navigate to the sign-in URL you noted in step seven of the “Creating an IAM User with Zero Access” section, and log in with the IAM user’s password.
💡Avoid conflicts with your root account by logging in using a different browser or an incognito window.
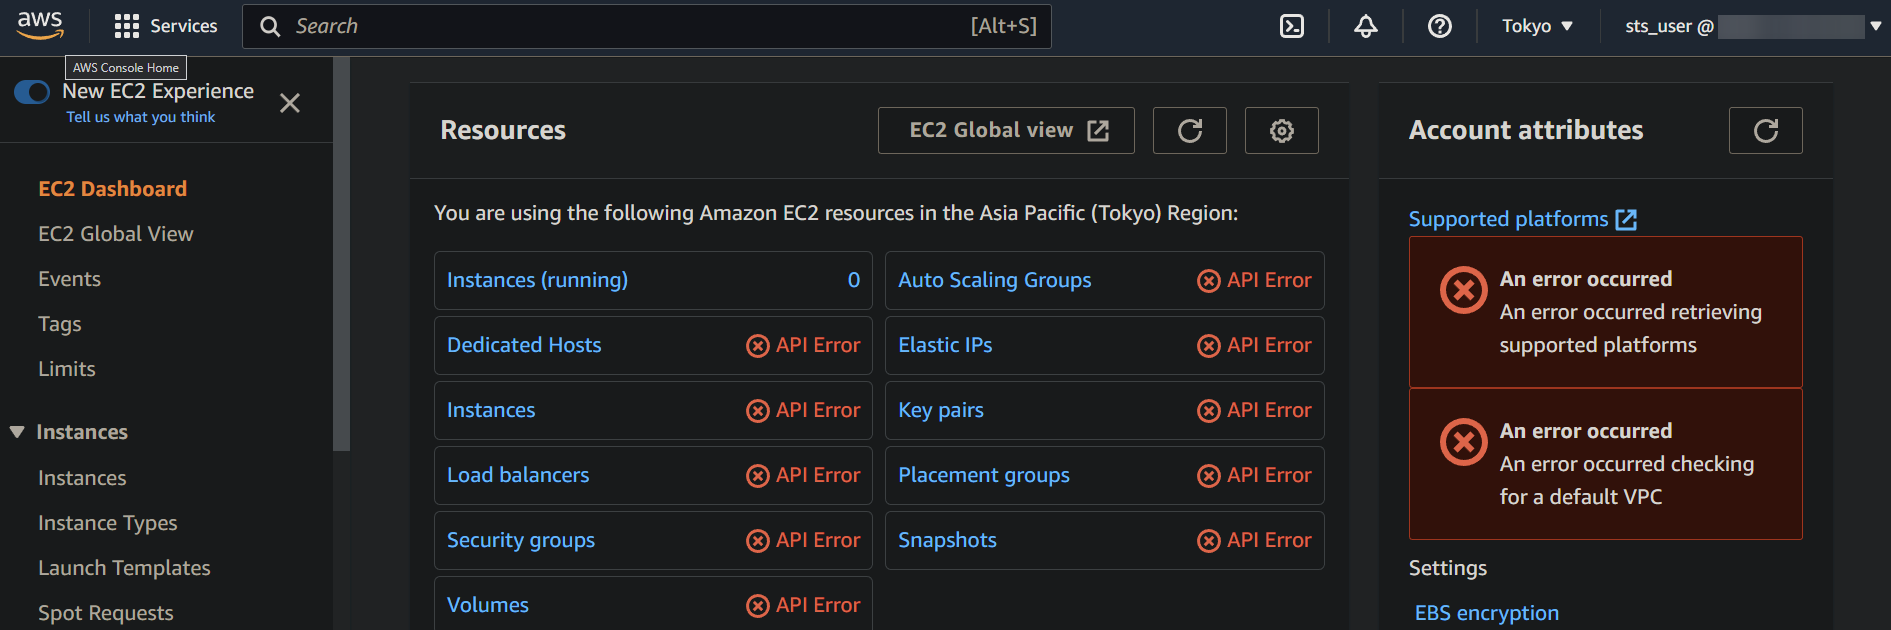
2. Once logged in, navigate to the EC2 console, and you will see many API errors in red, as shown below. These errors indicate that the IAM user does not have permission to access the EC2 resources.
To fix these errors, you must assume the role you created to be granted access to all EC2 resources (AWSEC2FULLACCESS) in the following step. When you assume a role in AWS, you temporarily take on the permissions associated with that role.
3. Open a new browser tab, and navigate to the “link to switch roles” you noted in the last step of the “Preparing a Custom Trust Policy” section.
This link is a special URL that takes you directly to the Switch Role page in the AWS Management Console. The Switch Role page allows you to assume a different role, a set of permissions determining what AWS resources you can access.
4. Now, provide a descriptive Display Name for the session, and click Switch Role to assume the role. The display name helps you keep track of your active sessions.
After assuming the role, your browser redirects to the AWS Management Console with the permissions of the selected role.

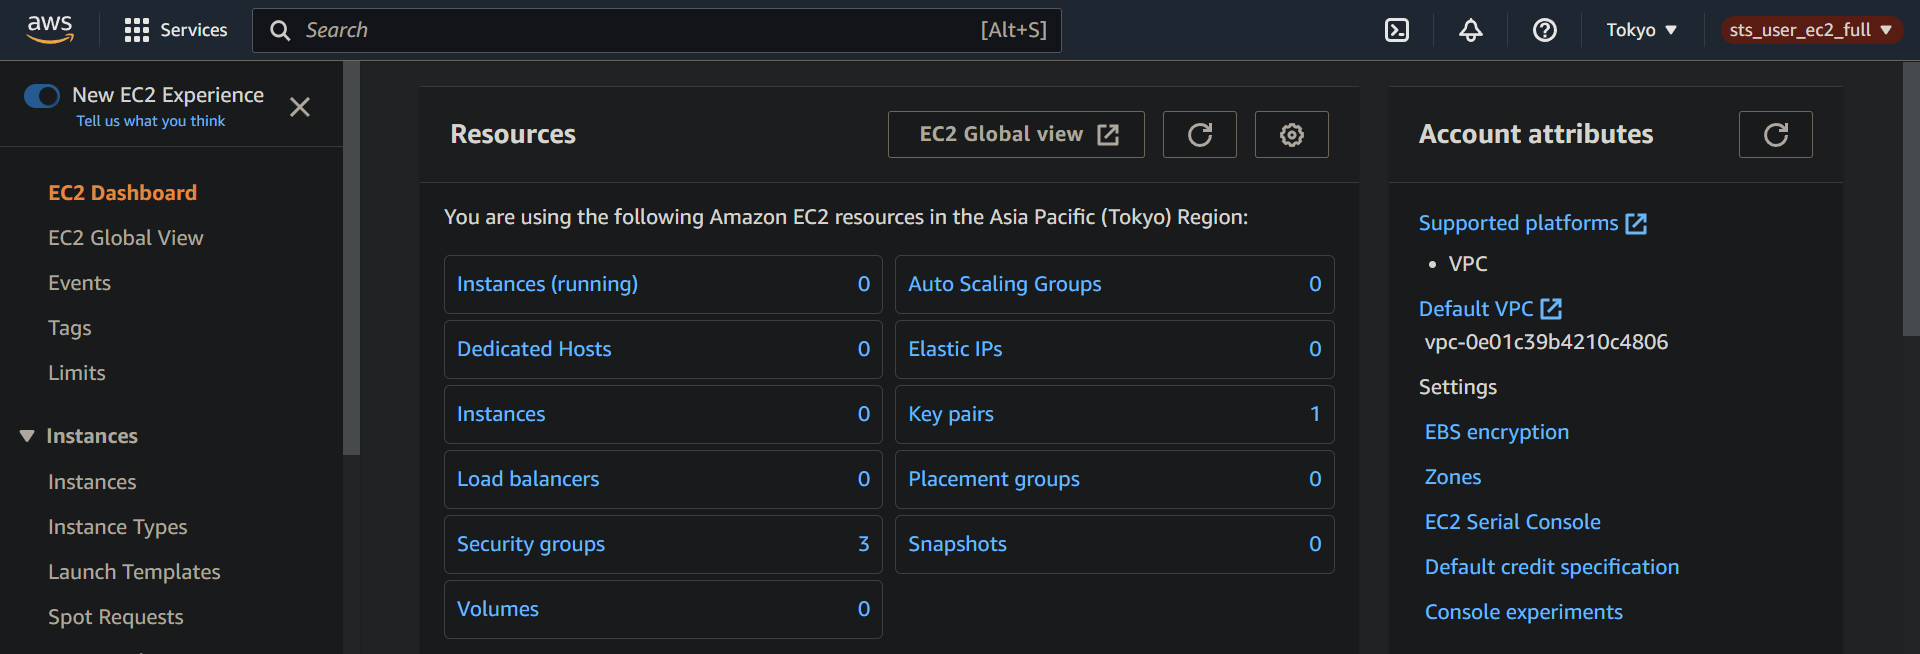
5. Navigate to the EC2 console again to confirm that your IAM user has been granted access to EC2 resources.
If all goes well, you will no longer see the API errors you saw earlier since you are now logged in with the role’s permissions, including access to EC2 resources.
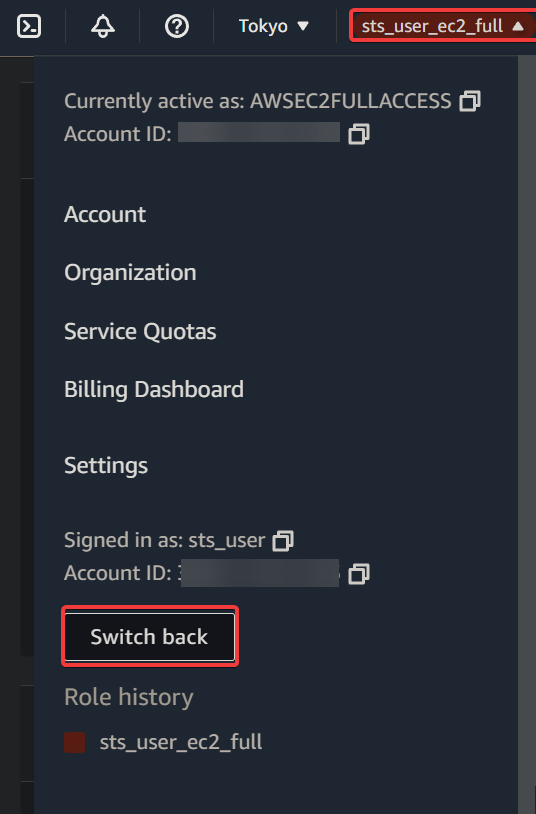
6. Finally, click your session’s display name (top-right) and select Switch back to switch to the original IAM user.
You will be logged out of your current session and logged in as your original IAM user with its original set of permissions. This action is the best practice to reduce the risk of accidentally performing unintended actions.
Conclusion
Assuming a role in AWS is a powerful feature that enables you to grant temporary access to resources without sharing your permanent credentials. And throughout this tutorial, you have learned to leverage AWS STS assume role privileges.
At this point, you can confidently assume a role with limited permissions to ensure the security of your resources and minimize the potential impact of any accidental or malicious actions.
The AWS Management Console is an excellent way to start with AWS services like assuming roles. But why not try to assume a role via the AWS Command Line Interface (CLI)? Exploring and integrating AWS CLI into your automation scripts can provide more advanced features and functionalities.