Need to compare files or source code? Does eyeballing the files can seem like searching for a needle in a haystack? Despite its age, the Microsoft WinDiff utility still works well for file and directory comparisons. The application offers enough functionality to make short work of any file comparison needs.
In this article, you will discover how to use the WinDiff utility to compare both files and folders. Learn how to ignore marked files for comparison, export results to a text file, and edit resulting comparisons.
Prerequisites
As the WinDiff utility is not included within Windows you must first download or install the utility for use. For this, you simply need a modern version of Windows. This article uses Windows 10.
Installing WinDiff from the Microsoft SDK
To get started with WinDiff, you must first download it since it’s not included, by default, in Windows. You can find WinDiff via an older download of the Microsoft SDK for Windows 7 and .NET Framework 4.
There are two unofficial mirrors that offer just the
windiff.exeexecutable without needing to download and install the entire SDK. Both Grig Software and Archive.org offer versions for download.
1. First, open your favorite web browser and navigate to the Microsoft Windows SDK for Windows 7 and .NET Framework 4 download page and click the Download button.
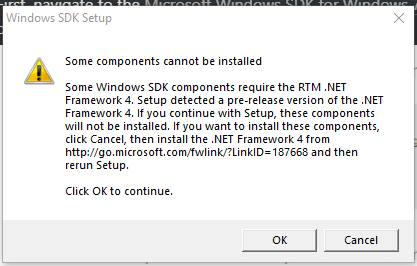
2. Once downloaded, launch the winsdk_web.exe executable. You may see the following warning on Windows 10, which you can click OK to bypass without issue.
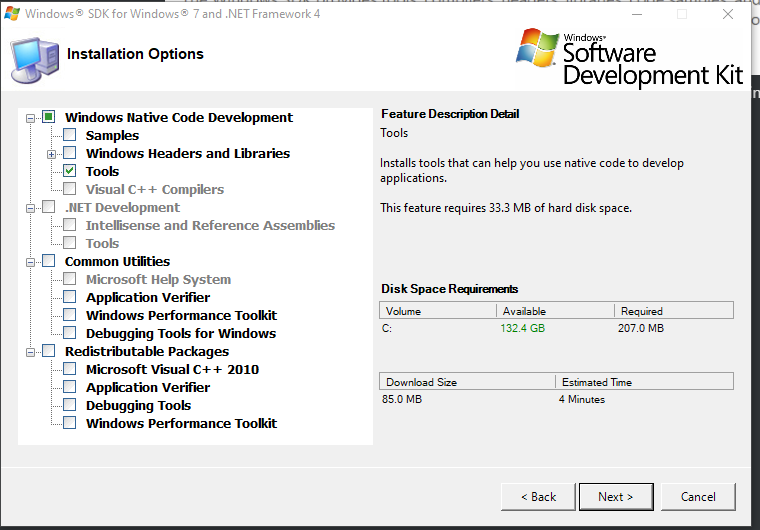
3. Click through all of the defaults until you get to the Installation Options screen.
4. Since the Windows SDK has a lot more than just WinDiff, uncheck all entries except for Tools under the Windows Native Code Development section.
5. Click Next to begin the installation and Finish to complete it.
Comparing a File in the WinDiff Application
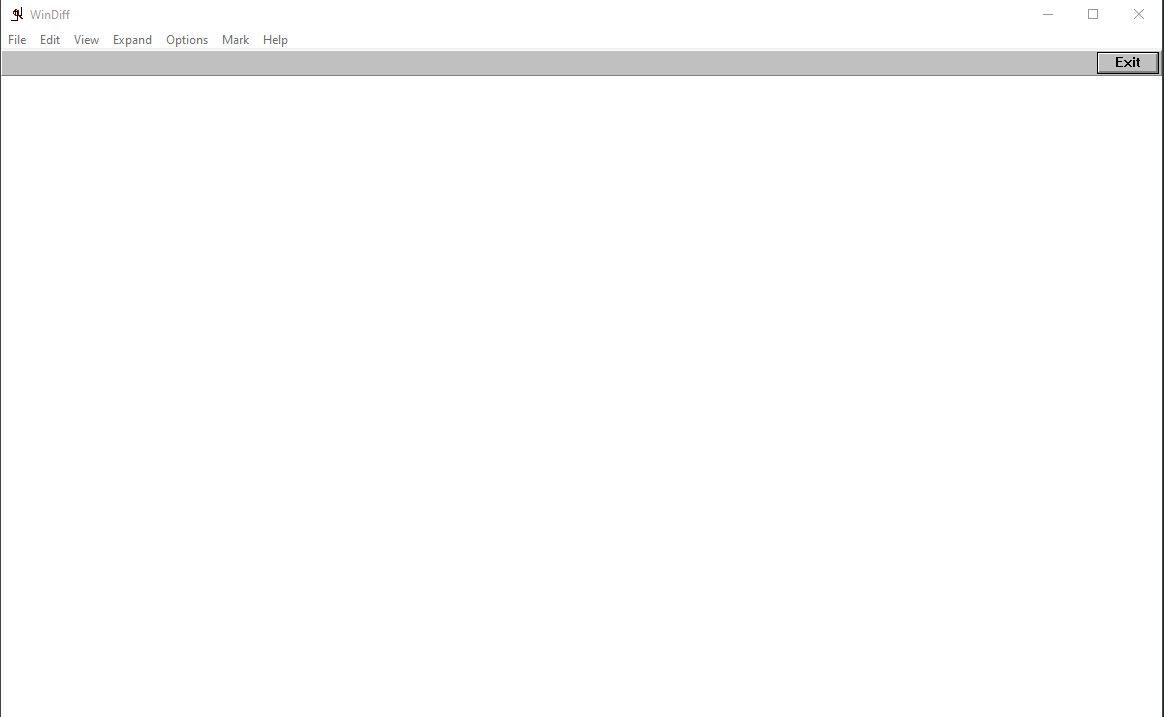
Now that you have downloaded or installed the WinDiff application, it is time to learn how to navigate and use this useful utility. Although WinDiff may have a sparse interface, there is more than meets the eye.
1. Launch WinDiff from either C:\Program Files\Microsoft SDKs\Windows\v7.1\Bin\windiff.exe, if acquired from the Windows SDK, or from the download location of the unofficial mirror.
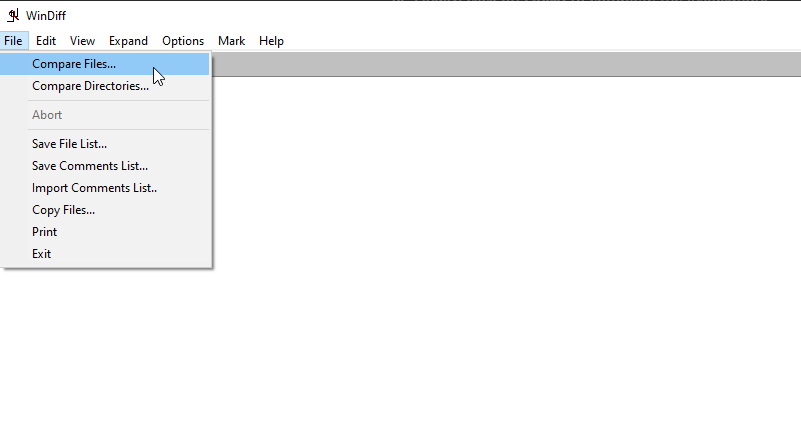
2. Click on the File menu and choose Compare Files.
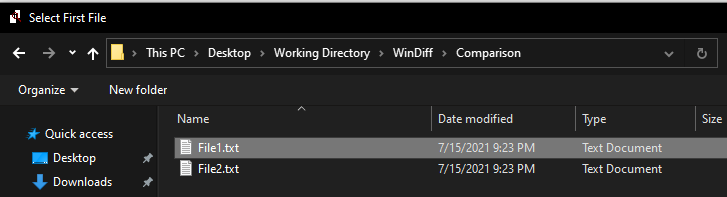
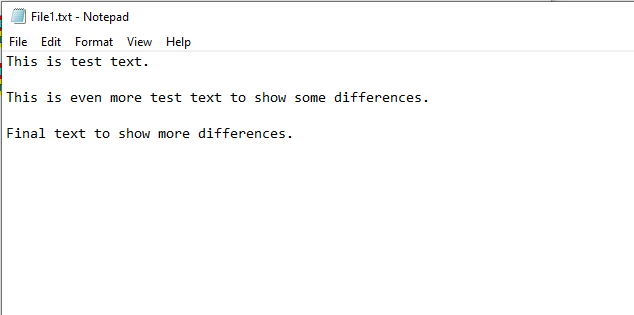
3. Choose the first file for comparison, often these are source code files, but here text is used.
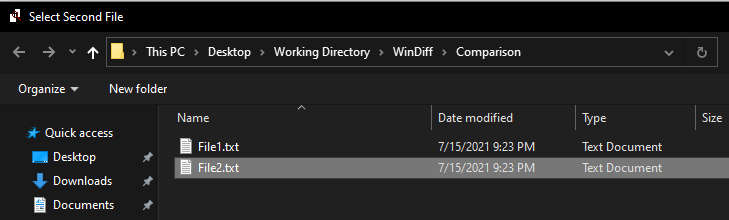
4. Then choose the second file to compare to.
Once the files have been loaded, you will be presented with an overview showing the files for comparison.
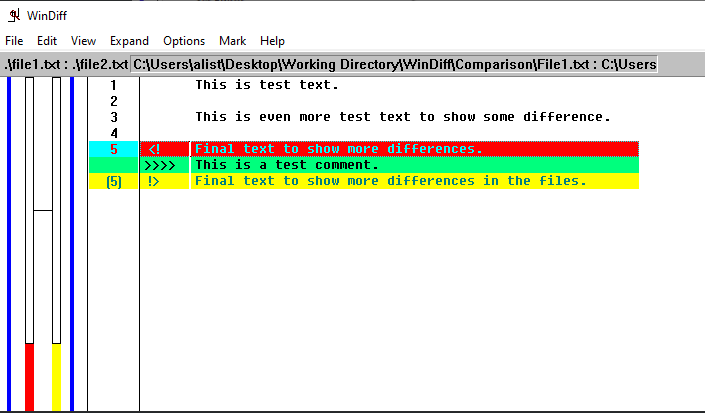
5. Double-click the entry to compare, or click the Expand button. You’ll then be presented with a screen that breaks down the differences and similarities in the compared files.

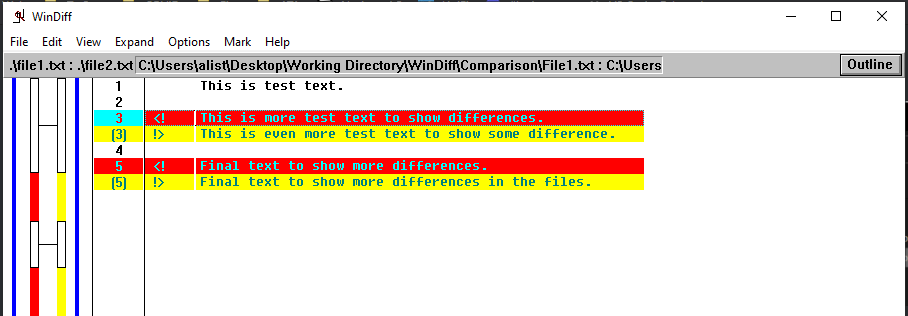
On the left-hand side, you will find a mini-map view that highlights the overall differences throughout the files to quickly navigate right to a section of the file.
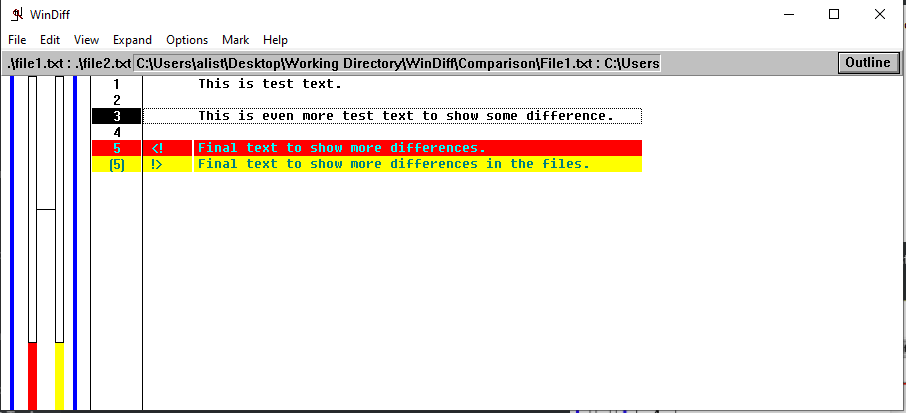
On the right-hand side, you will find the differences on different color highlighted lines. The color yellow is used to highlight differences in the first file and the color red for the second file.
Modifying Compared Files
Now that you have compared the two files to spot differences, you may need to reconcile the differences between the two files. To do this, you can either edit the first file, the second file, or a composite between the two files. Although WinDiff is not a merge tool, read on to learn how to edit files with changes!
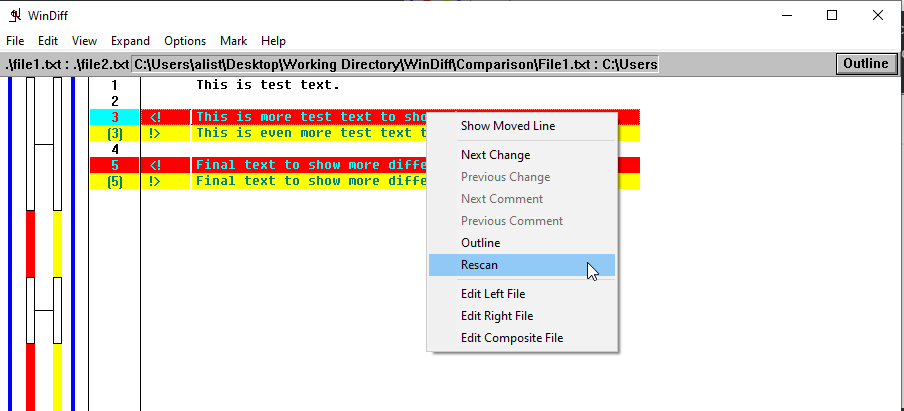
1. First, right-click on the line that you would like to modify. Note that the same lines between the files will have the same line number, as seen below.
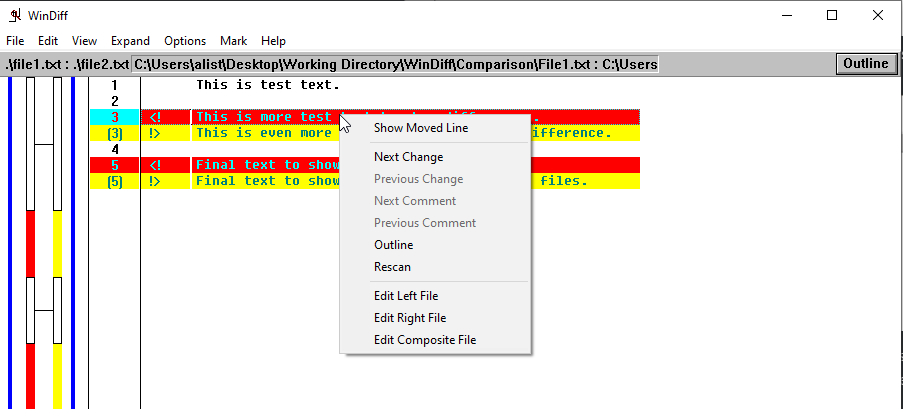
2. In this example, to modify a highlighted change, choose to edit the Left File first, which will by default launch in Notepad. Below, the file has been modified to have an identical second line.
3. Back in the WinDiff utility, right-click on the first modified line and choose Rescan to update the scanned files to look for any changes.
As you can see below, the comparison no longer shows the modified line.
Commenting on a Change
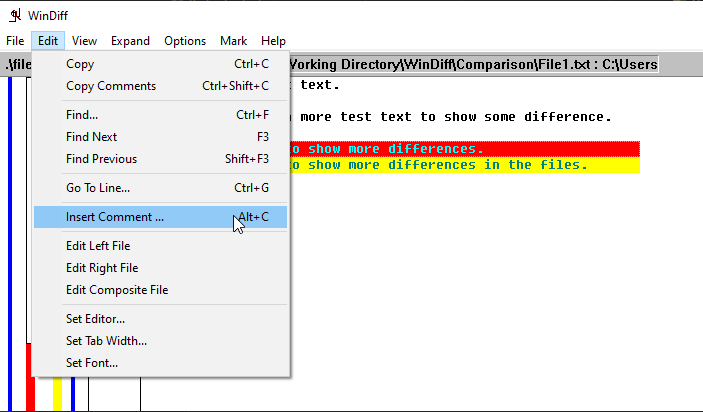
One useful ability within WinDiff is the ability to make a comment on a change. This comment can later be exported to a text file. If you close WinDiff without exporting the comment, it will be lost when WinDiff is closed.
1. First, click on the change to comment on and navigate to the Edit menu and click Insert Comment.
2. Enter your comment text and click OK.
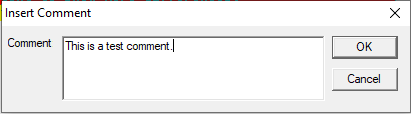
3. You will see a new comment shown in green, in-between the changed lines.
Comparing Folders in WinDiff
Now that you have compared files in WinDiff, you may find you need to compare an entire folder. Just like files, WinDiff offers the ability to compare two different folders. Follow the steps below to compare two different directories.
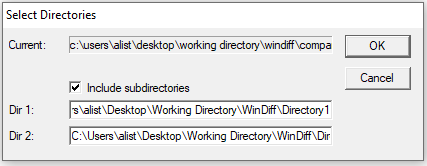
1. Open WinDiff and choose File → Compare Directories. Enter the location of the two directories to compare. Optionally, you may choose to include sub-directories as well.
2. Once presented with the list of changes, double-click on the file to expand and further compare.
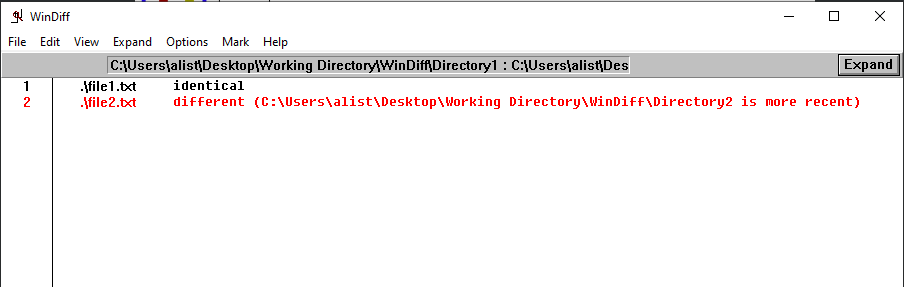
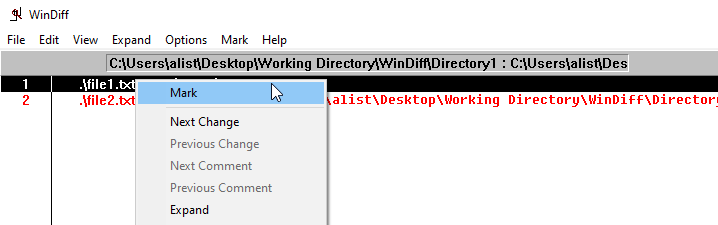
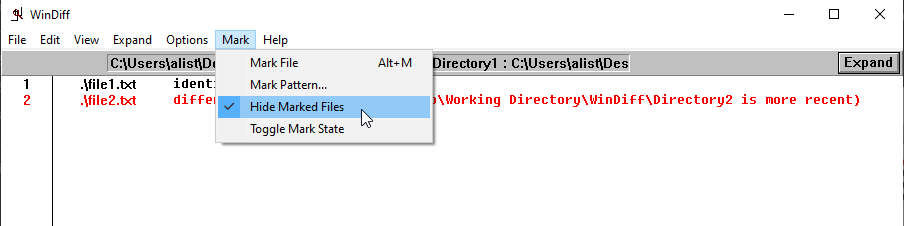
3. Since you see that file1.txt is identical, perhaps you want to ignore this file. WinDiff offers you the ability to Mark a file and hide it from view. Right-click on the file to hide and choose Mark.
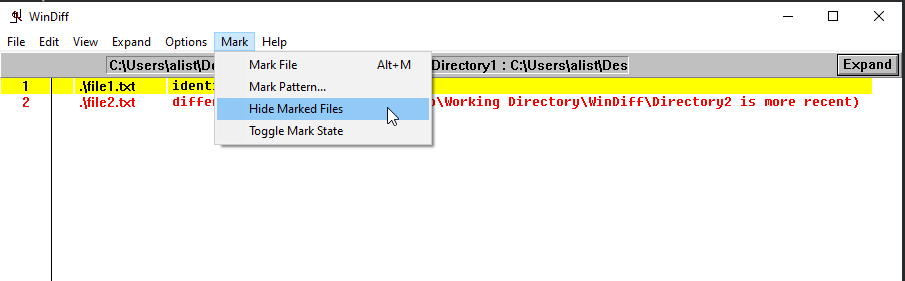
4. Once marked, the line will turn yellow. Click the Mark menu and choose Hide Marked Files.
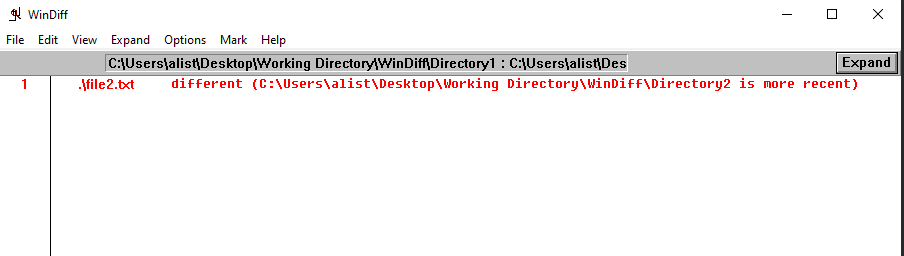
5. This will leave only those files left that you choose to focus on, as seen below.
Marking Files via RegEx
If you have a number of files that you would like to ignore, but individually marking them would be time-consuming, then you may specify a regular expression instead.
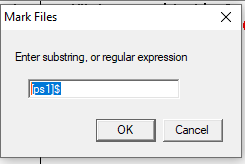
1. First, click on the Mark menu and then on Mark Pattern as seen below.
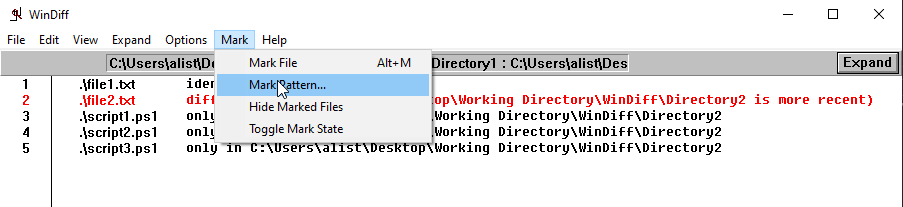
2. Enter in a regular expression to filter out the .ps1 files. The example below uses, [ps1]$ as the regular expression.
3. Finally, choose Hide Marked Files from the Mark menu.
Customizing WinDiff
Although the defaults in WinDiff work perfectly well, there are times you may want to modify WinDiff to better fit your workflow. Read on to learn what can be customized!
Modifying the WinDiff File Editor
Throughout this article, you have used Notepad for your file editing. A modern editing application to compare files is Visual Studio Code. How then, would you tell WinDiff to launch edits in this utility instead?
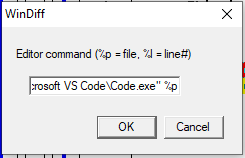
1. First, click on the Edit menu and choose Set Editor.
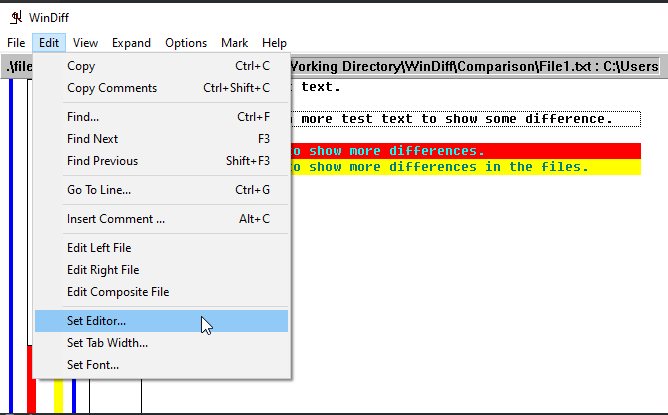
2. Enter "C:\Users\user\AppData\Local\Programs\Microsoft VS Code\Code.exe" %p into the set editor prompt and click OK.
Make sure to replace “user” above with your username, if you are using a per-user install of Visual Studio Code. If VS Code is installed for all users, then use that location instead.
3. Finally, right-click on a line with highlighted differences and choose the option to edit the composite file and launch the file in the Visual Studio Code editor.
WinDiff does not appear to be properly sending an individual file, left or right, to an external editor other than notepad. Your mileage may vary here, but composite files do work.
Changing Default Tab Comparison Size
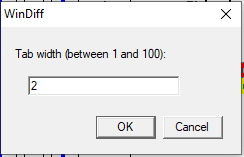
The default tab size used in WinDiff is set to the equivalent of 8 spaces, rather than the more typical 2 or 4. With this larger size, the comparisons of the files may not be correct. Therefore, you will want to modify this value and set it accordingly.
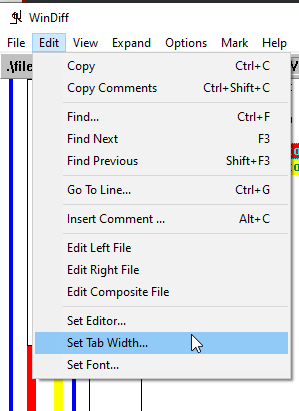
To do so click on the Editor menu and Set Tab Width. Next, set the tab width to the correct value and click OK.
Exporting a Text File of Differences or Comments
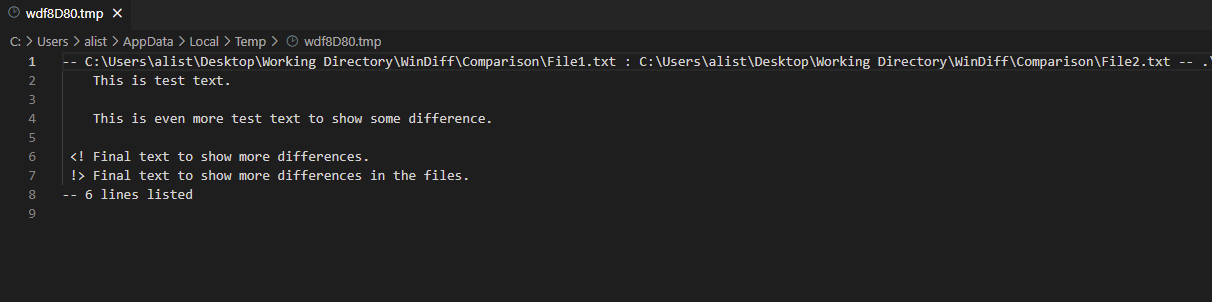
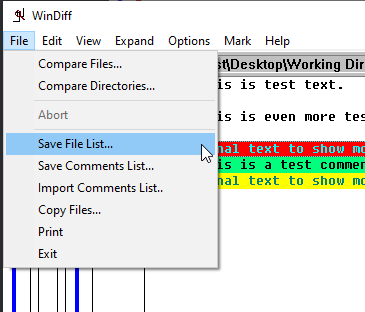
Finally, you have the ability to export either a file list of differences or a list of the comments in a file. To export the file list, click the File menu and choose Save File List. Enter the location to save, relative to the current compared files, and choose the options to modify. Finally, click OK to export the file list.

To export the list of comments in a file, once again, click on the File menu and choose Save Comments List. Enter the location to save the comments list and click OK.

Conclusion
Now that you have learned how to use WinDiff to compare files and folders, this small utility becomes quite useful for fast file and folder comparisons. Of course, you may find that this utility does not fit all your needs, and there are several alternatives available such as WinMerge.
Nonetheless, the older WinDiff utility still finds a home in many an IT professionals toolbelt, see how you can use WinDiff to compare your data today!