
Do you have a stateful process deployed in Kubernetes? If yes, then you absolutely need effective storage management. Why not consider turning to Kubernetes PVC?
Kubernetes PVC lets you easily store, manage, and persist data your application relies on to be completely functional. And in this tutorial, you’ll learn how to store and persist data of a MySQL database using Kubernetes PVC.
Read on and assure high data availability for your applications!
Prerequisites
This tutorial will be a hands-on demonstration. If you’d like to follow along, be sure you have the following:
- Minikube locally installed.
- A Linux machine – This tutorial uses Ubuntu 20.04.3 LTS.
Creating a Cluster in Minikube
Working with Kubernetes PVC, you’ll first need to create and start a cluster to containerize your application. This tutorial uses Minikube as a tool to deploy a cluster with one node on your local machine.
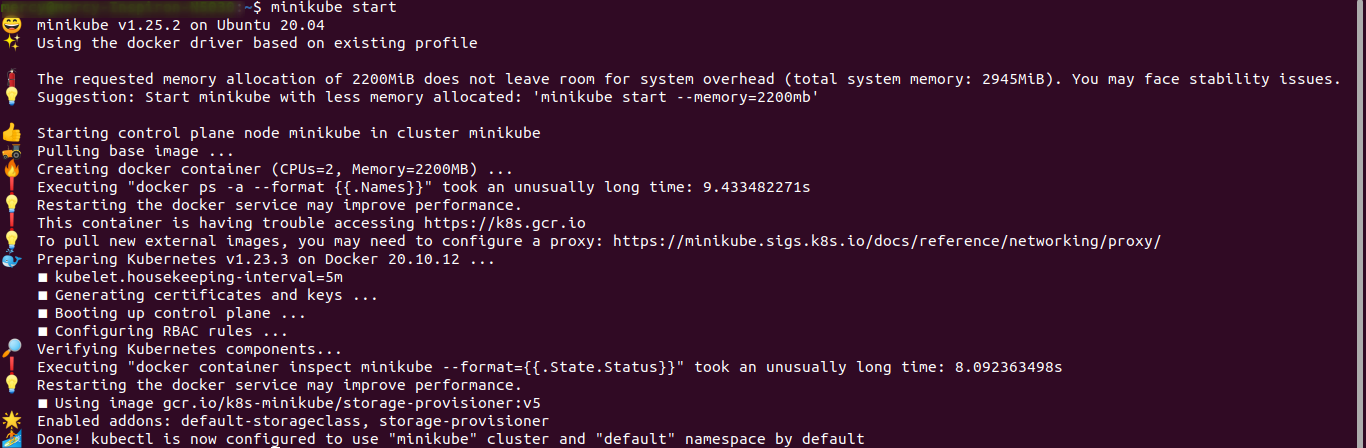
1. Open your terminal, and run the command below to create a cluster in Minikube.
minikube startWait for a little for Minikube to provision your cluster. Once completed, you’ll have an output similar to the output below.
2. Next, run the following command to get access to the minikube dashboard within your cluster so that you can view the resources within your cluster.
minikube dashboard
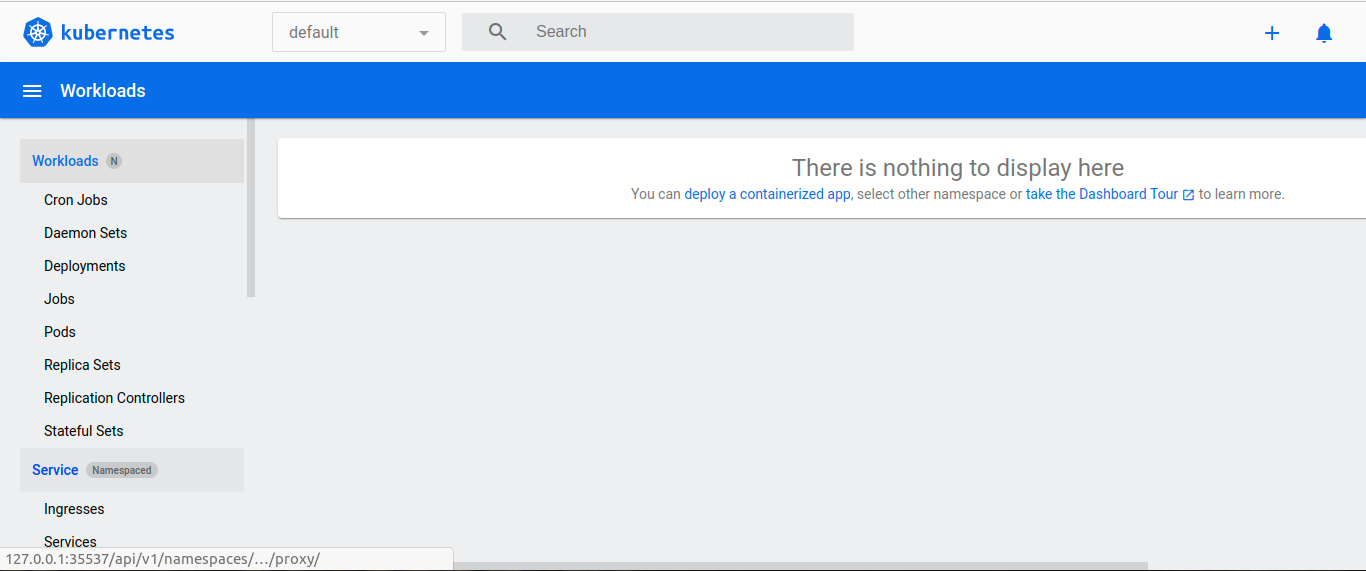
Once your dashboard is ready, your default web browser opens and redirects to your Minikube dashboard, as shown below.
Since you have no application deployed yet, your dashboard is empty.
3. Lastly, run the kubectl get command to get the number of nodes for your cluster. This command lets you confirm you can access your Minikube dashboard.
kubectl get nodesSince Minikube only provides one node, your output should be similar to the output below. At this point, you can now interact with your cluster via kubectl commands.

Creating a Persistent Volume (PV)
Now that you have a cluster in Minikube and can directly interact with it via kubectl commands, the next thing to do is create a PV for your cluster.
Since you will be deploying a MySQL database to Kubernetes, you’ll need to store data on disk for persistence on the file system. And to store data, you’ll create a PV in Kubernetes.
But first, it’s ideal to figure out the provisioner for the storage you’re trying to incorporate into your PV. How? You’ll define a storage class, which helps Kubernetes know you plan to provision your storage.
1. Run the below command to check the type of storage class available to you on your local machine.
kubectl get storageclassesThe output below indicates that Minikube supports the storage class hostpath, which you’ll use for your PV.

2. Next, create a YAML file (mysql-pv) using any code editor of your choice, and you can name the file as you like.
nano mysql-pv.yaml3. Add the configuration below to the mysql-pv.yaml file, save the changes, and close the editor.
The configuration settings below create a PersistentVolume named mysql-volume with a capacity of 1Gi of storage.
apiVersion: v1
kind: PersistentVolume
metadata:
   name: mysql-volume # Name of the persistent volume
   labels:
     type: local
spec:
   storageClassName: hostpath # Name of the storage class
   capacity:
     storage: 1Gi # Amount of storage this volume should hold
   accessModes:
     - ReadWriteOnce # To be read and written only once
   hostPath: # Storage class type
     path: '/mnt/data' # File path to mount volume
4. Now, run the kubectl apply command below to apply the configuration setting (mysql-pv.yaml) to your cluster.
kubectl apply -f mysql-pv.yaml
5. Finally, run the kubectl get command to confirm the PV exits.
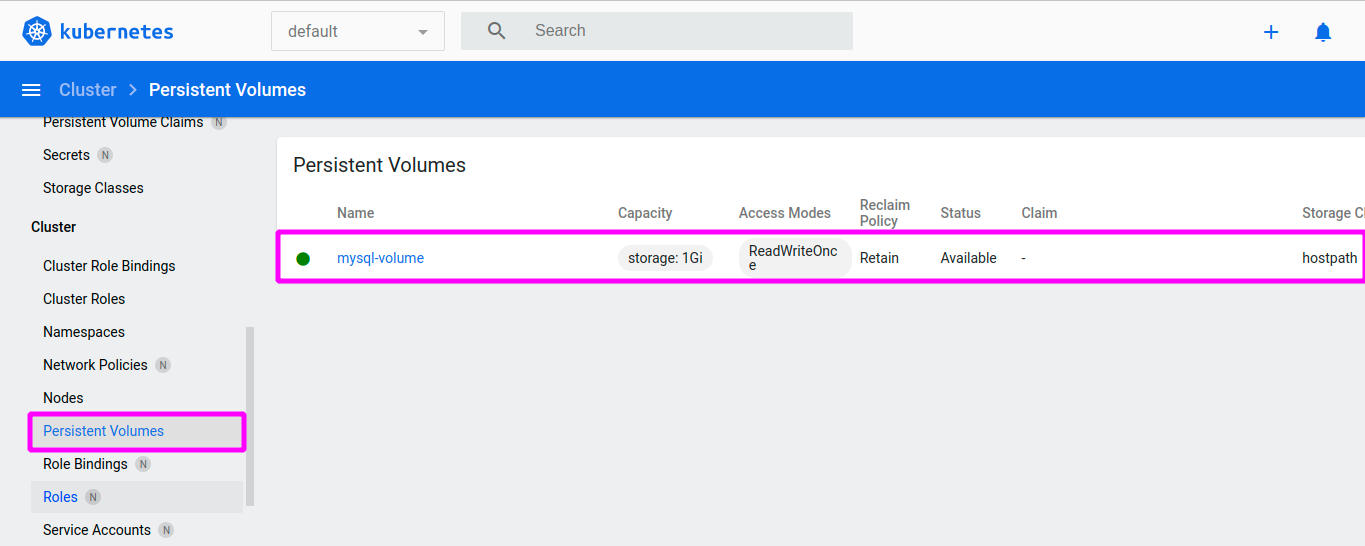
kubectl get persistentVolumesBelow, you can see the PV is created and is available.

Alternatively, navigate to the Persistent volume option on the left panel of the Minikube dashboard, as shown below, to see your PV.
Working with a Persistent Volume via Kubernetes PVC
You now have a PV for your cluster, but how do you use it? By using a PVC. With a PVC, pods running on your cluster can claim some amount of storage from a PV to store data.
PVC references the PVs to be used and indicates how much volume you’d like your pods to use from that volume.
1. Run the kubectl create command below to create a namespace called mysql.
kubectl create namespace mysql
You can also confirm if the namespace exits on your Minikube dashboard by navigating to the Namespaces option on the left panel, as shown below.

2. Next, create a file called mysql-pvc.yaml with your text editor.
nano mysql-pvc.yaml3. Populate the code below to the mysql-pvc.yaml file, then save and exit the editor.
The following code creates a PersistentVolumeClaim named mysql-claim that claims and uses 50Mi amount of storage from a PV.
apiVersion: v1
kind: PersistentVolumeClaim
metadata:
  name: mysql-claim # Name of the persistent volume claim
spec:
  storageClassName: hostpath # Name of the storage class
  accessModes:
    - ReadWriteOnce # Indicates this claim can only be read and written once
  resources:
    requests:
      storage: 50Mi # Indicates this claim requests only 50Mi of storage from a PV
4. Lastly, run the following command to apply the new configuration setting (mysql-pvc.yaml) to the mysql namespace.
kubectl apply -n mysql -f mysql-pvc.yamlThe output below indicates the persistent volume claim has been created and is bound to a persistent volume called mysql-volume.

Alternatively, you can confirm if your persistent volume claim exists in the Minikube dashboard.
Click the drop-down box in the Minikube dashboard shown below to select the namespace you are working on (mysql). Navigate to the Persistent Volume Claim option on the left panel to see your PVC.
Creating a MySQL ConfigMap
You’ve created a PVC that is bound to the PV in your cluster, and now you’re ready to deploy your MySQL database and configure it to use that PVC.
But before you go ahead with deploying the MySQL database, you’ll need to create a ConfigMap that describes the username and password to access your MySQL database. A ConfigMap lets you store non-confidential data in key-value pairs.
1. On your terminal, create a new file called mysql-configmap.yaml.
nano mysql-configmap.yaml2. Add the following configuration to the mysql-configmap.yaml file, save the file, and exit the code editor.
This configuration setting creates a configMap called mysql-config with the credentials to access the MySQL database.
apiVersion: v1
kind: ConfigMap
metadata:
name: mysql-config # Name of the ConfigMap
labels:
app: mysql
data:
MYSQL_DB: 'mysqldb' # The name of the MySQL database
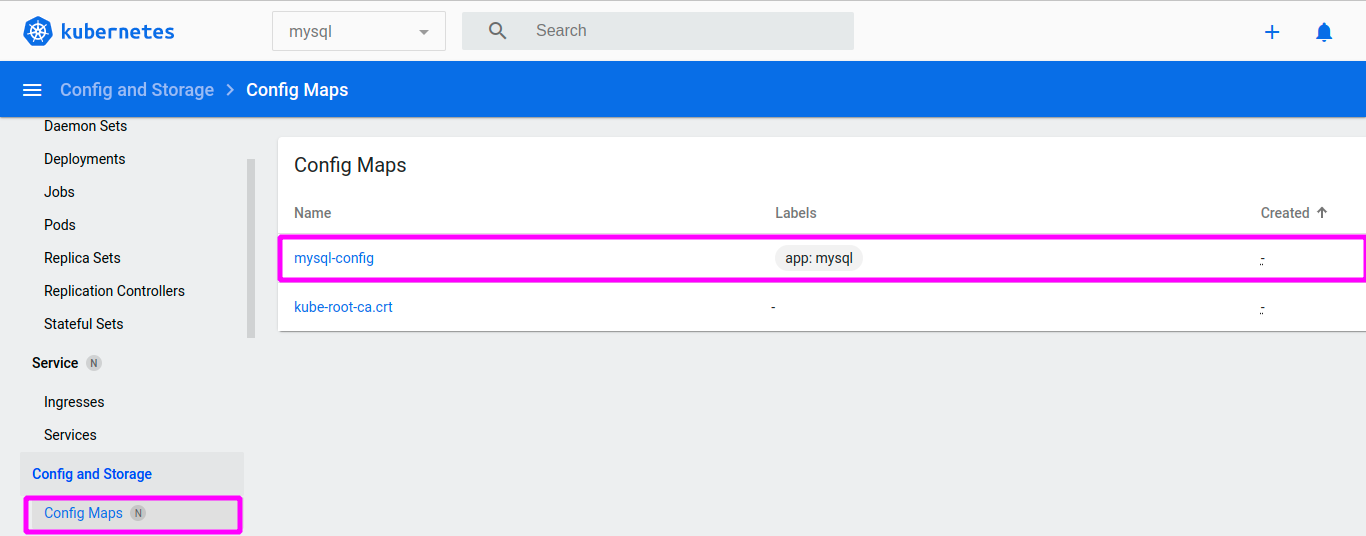
MYSQL_ROOT_PASSWORD: '1234' # The root password of the MySQL database3. Lastly, run the below command to apply the new configuration settings (mysql-configmap.yaml) to your namespace (mysql).
kubectl apply -n mysql -f mysql-configmap.yaml
Alternatively, navigate to the Config Maps option under Config and Storage on the left panel of the Minikube dashboard to see your config map, as shown below.
Creating a MySQL StatefulSet
Now that you have created a config map for your MySql database, you’ll need a way to manage the deployment and scaling of your pods by creating a StatefulSet. StatefulSets are designed for applications that require a state, like a database in this context.
1. Create another YAML file called mysql-stateful-set.yaml in your text editor.
nano mysql-stateful-set.yaml2. Paste in the code below to the mysql-stateful-set.yaml file, save the file, and exit the editor.
The code below creates a StatefulSet called mysql with only one replica that pulls the latest version of the MySQL database listening on port 3306. This code also configures the StatefulSet to store data in the file path /var/lib/mysql/data for persistence using your PVC (mysql-claim).
apiVersion: apps/v1
kind: StatefulSet
metadata:
name: mysql # The name of the StatefulSet
spec:
serviceName: mysql # The name of the service this StatefulSet should use
selector:
matchLabels:
app: mysql
replicas: 1 # Indicates this StatefulSet should only create one instance of the mysql database
template:
metadata:
labels:
app: mysql
spec:
containers:
- name: mysql # The name of the MySQL container
image: mysql:latest # The image of the MySQL database
imagePullPolicy: "IfNotPresent"
ports:
- containerPort: 3306 # The port number MySQL listens on
envFrom:
- configMapRef:
name: mysql-config # Indicates this StatfulSet should a config map called mysql-config to access the MySQL database
volumeMounts:
- name: data
mountPath: /var/lib/mysql/data # Data should be mounted onto this file path
volumes:
- name: data
persistentVolumeClaim:
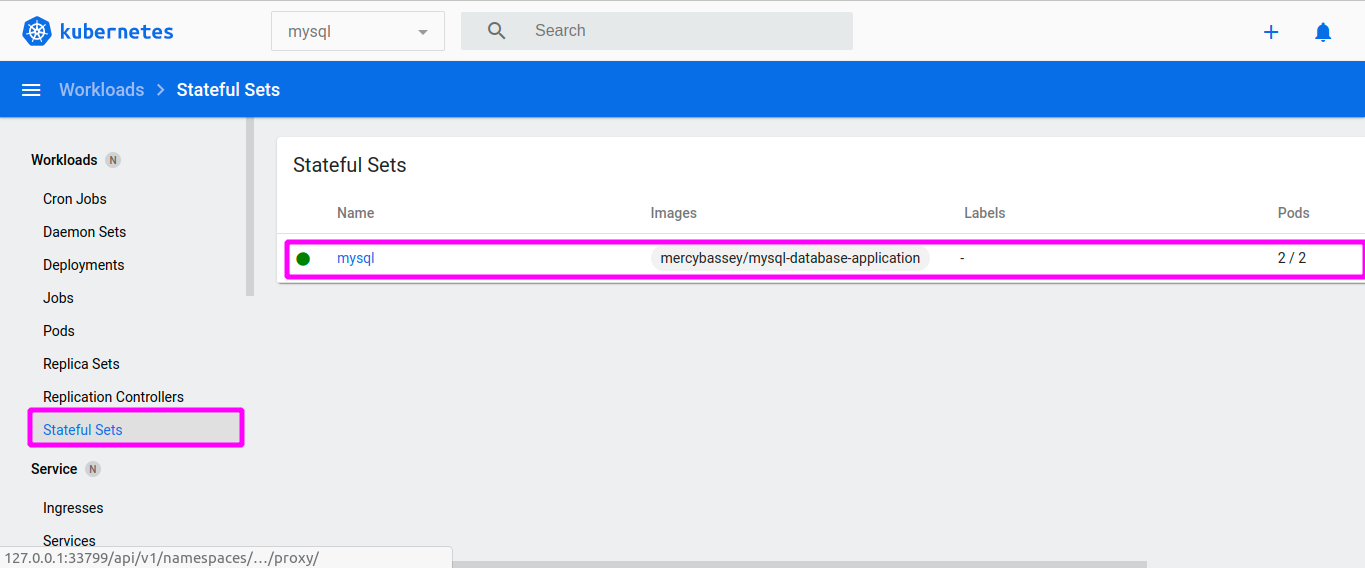
claimName: mysql-claim # Indicates the mysql database should use a PVC called mysql-claim3. Now, run the kubectly apply command below to apply the new configuration setting from the mysql-stateful-set.yaml file.
kubectl apply -n mysql -f mysql-stateful-set.yaml
You’ll see the StatefulSet on your Minikube dashboard in the mysql namespace, as shown below.
Creating a MySQL Service
After creating the StatefulSet for your MySQL database, it’s time to create a service to expose your MySQL database.
1. Create a file called mysql-service.yaml with your preferred editor.
nano mysql-service.yaml2. Add the following configurations to the mysql-service.yaml file, save the file, and exit the code editor.
The configuration setting below creates a service called mysql that listens on port 3306
apiVersion: v1
kind: Service
metadata:
   name: mysql
   labels:
     app: mysql
spec:
   selector:
     app: mysql
   ports:
     - protocol: TCP
       name: http
       port: 3306
       targetPort: 3306
3. Now, run the following command to apply the new configuration (mysql-service.yaml) in the mysql namespace.
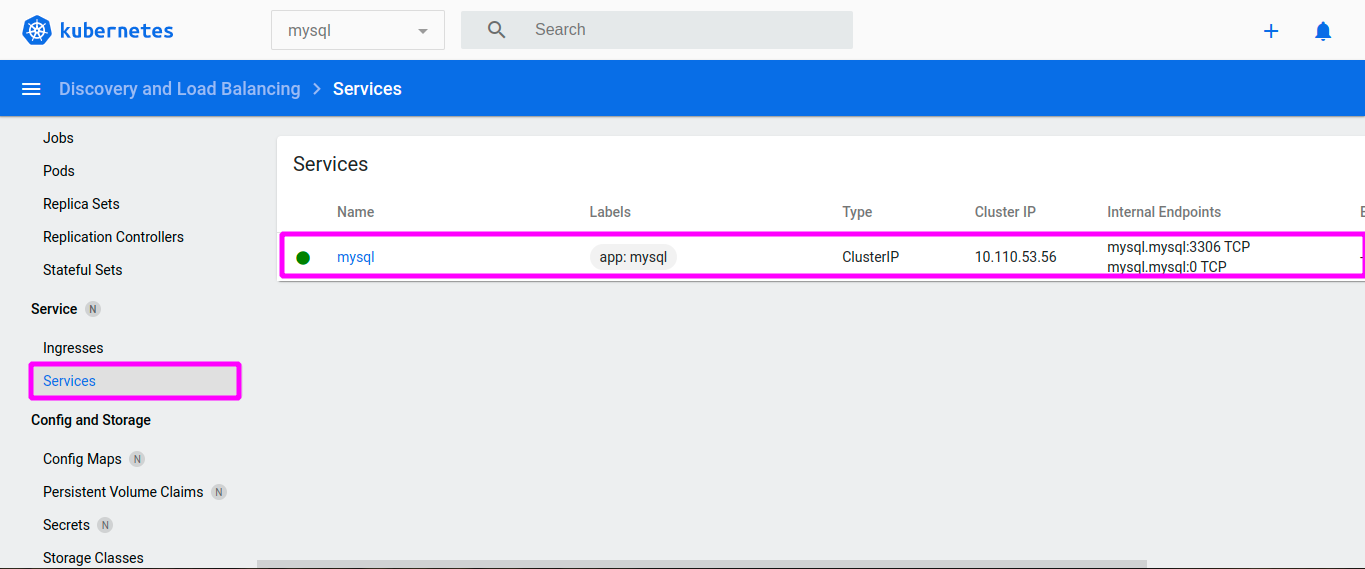
kubectl apply -n mysql -f mysql-service.yamlThe output below confirms the new MySQL service has been created.

Alternatively, confirm that your MySQL service reflects on your Minikube dashboard by clicking on the Services option below from the left panel.
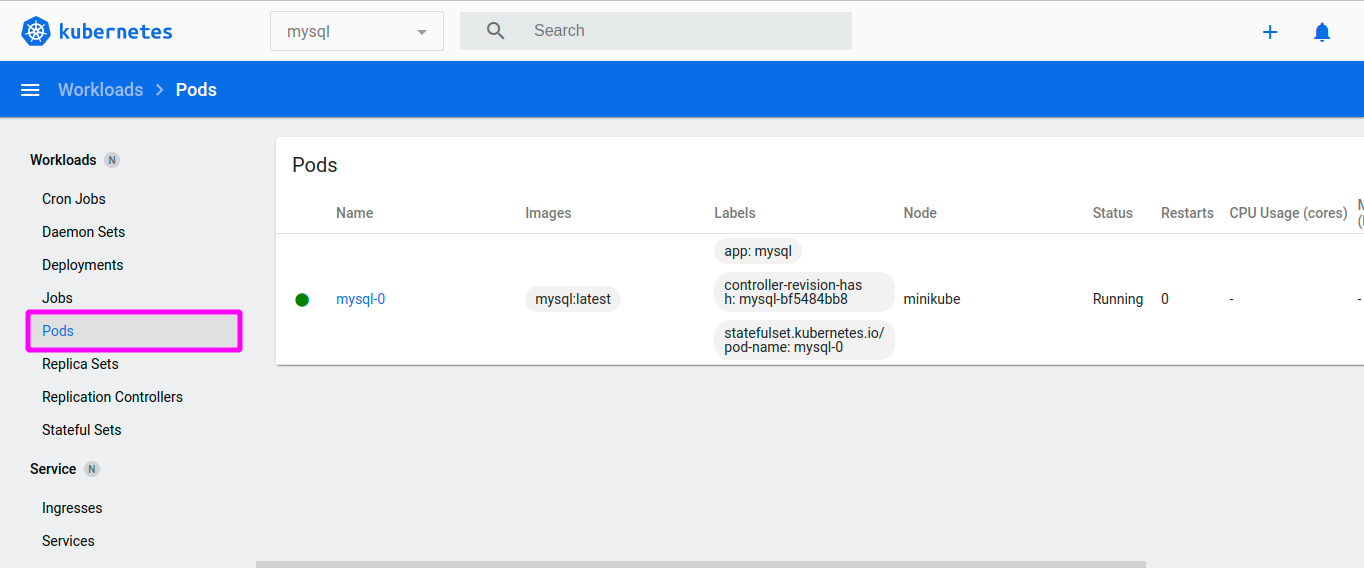
4. Now, run the kubectl get command below to get the lists of pods running in your cluster in the mysql namespace.
kubectl get -n mysql podsYou can see below that your pod is running correctly. Note down the pod name as you’ll need it to execute your container later.

Alternatively, you can also check for your pods on the Minikube dashboard by clicking on the Pods option from the left panel.
Executing the MySQL Container
Your MySQL service is running, but your PV serves no purpose without data. You’ll execute the MySQL container so you can create a database and a table and add data to persist.
1. Run the below command to access your pod in your namespace (mysql).
Be sure to replace mysql-0 with your pod’s name you noted in the last step of the “Creating a MySQL Service” section.
kubectl -n mysql exec -it mysql-0 bashIf you’re able to access your pod, the prompt changes, as shown below.

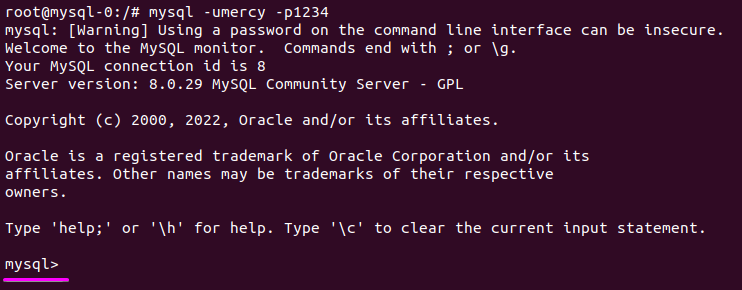
2. Next, the mysql command below to log into the MySQL database using root as the username and 1234 as the password.
mysql -uroot -p1234Wait for the container in the mysql-0 pod to be ready, and you’ll get the output below.
3. Run the following query to CREATE a DATABASE called users.
CREATE DATABASE users;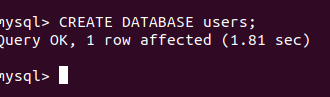
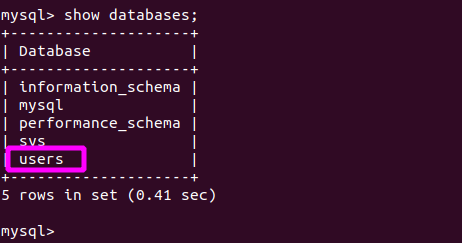
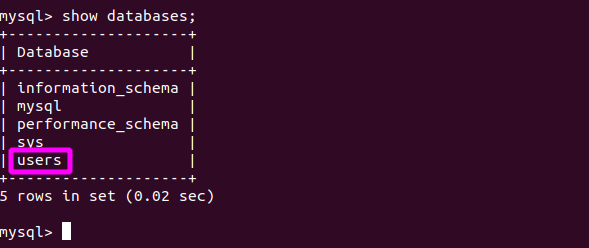
4. Now, run the below command to show the list of existing databases.
show databases; Below, you can confirm your newly-created database (users) exits.
5. Run the command below to switch to the newly-created database (users).
use users;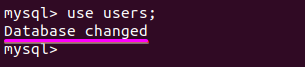
6. Next, run the query below to create a developers table in the users database.
create table developers (dev_id INT NOT NULL AUTO_INCREMENT PRIMARY KEY, d_name TEXT, stack TEXT);The output below indicates you’ve successfully created a table in your database.

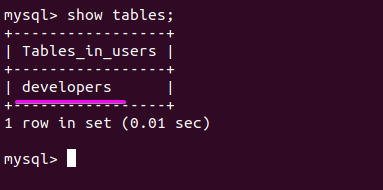
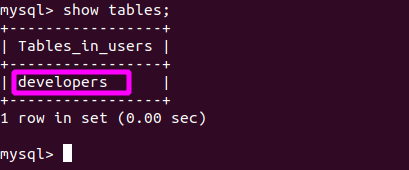
7. After creating the table, run the below command to show all existing tables in the current database (users).
show tables;Below, you can see the table you created (developers) exists.
8. Execute each query below to populate the developers table with two data entries in the format of name and designation.
insert into developers (d_name, stack) values ('John Doe', 'Python Developer');
insert into developers (d_name, stack) values ('Jane Doe', 'JavaScript Developer');
Once you’ve added data to your database, you’ll get the following output.

9. Finally, run the query below to verify the data you added to your table (developers) exists.
select * from developers;As you can see below, the data you added to your table (developers) in step eight exists.

Testing Data Persistence
You’ve successfully added data to your data, but you still have to test if the data persists even if your pod goes down. To confirm data persistence, you’ll delete and recreate your pod.
1. Run the exit command twice to exit from the MySQL server and your container.
exit2. Next, run the below kubectl delete command to delete the first pod (mysql-0) in your namespace (mysql).
kubectl delete -n mysql pod mysql-0
3. After deleting your pod, run the following command to recreate your pod in your namespace (mysql).
kubectl get -n mysql podsThe output below indicates that your pod is recreating.

Once recreated, you’ll see the following output where the pod’s status says Running.

4. Now, run the command below to execute (exec) the MySQL container again.
kubectl -n mysql exec -it mysql-0 bash
5. Once you’re in the MySQL container, run the following command to log into the MySQL server.
mysql -uroot -p1234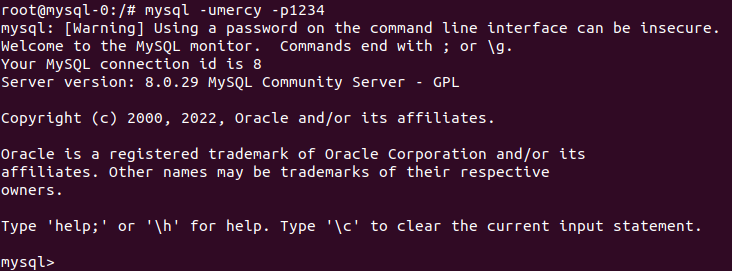
6. Next, run the show command below to show all available databases.
show databases;Below, you can see that the users database still exists, indicating data persistence works with Kubernetes PVC. But you still have to check if the data in your database is still there.
7. Run the use command to switch to the users database.
use users;
8. After switching, tun the show command below to show the lists of tables in the current database (users).
show tables;As you can see below, the developers table still exists. You’re one step closer to verifying your data is still intact.
9. Finally, run the query below to confirm if you still have your values in the developers table.
select * from developersDo you see an output similar below? Congratulations! Data persistence is working perfectly, so you don’t have to worry about losing data even if you have to delete and recreate your pods.

Conclusion
In this tutorial, you’ve learned about Kubernetes PVC and set up a persistent volume for your application, in this case, MySQL database. You’ve confirmed your data persists even after deleting and recreating your pods. Now you don’t have to panic if you accidentally deleted your pods, so long as you have a Kubernetes PVC on your side.
So how else would you like to implement a persistent volume? Perhaps one with a PostgreSQL database accessible across namespaces using another type of storage class? Like an AzureDisk storage provisioner?