
In today’s DevOps space, working with dozens of applications and even more configurations file is the norm. And to manage these artifacts, you’ll need a repository. No one can blame you if the first word you think of is GitHub (that is what we will learn from this BitBucket Tutorial article).
Apart from GitHub, Bitbucket is an excellent alternative. Bitbucket allows you to store code or configuration files and collaborate with team members. Bitbucket also integrates well with Jira and Trello to bring the entire software team to execute a project.
In this tutorial, you will learn to install and configure a Bitbucket server on Ubuntu. Set up a new project and repository, and test your Bitbucket instance with Git Bash on Windows.
Prerequisites
This post will be a step-by-step BitBucket tutorial. To follow along, be sure you have the following.
- An Ubuntu 20.04 LTS computer with OpenJDK JRE installed. This tutorial should also work with Ubuntu 14.04 LTS and above.
- An Atlassian account. If you don’t have one, sign up for a free Atlassian account first.
- A Windows 10 computer with Git Bash installed.
Although this tutorial covers Bitbucket on Ubuntu, know that Bitbucket is also available in Windows and other Linux distros.
Installing the Bitbucket Server
This tutorial kicks off with installing the Bitbucket Server. Installing Bitbucket is nothing different from installing other packages on your machine, and you only need to run a few Linux commands. To install, follow the below steps.
1. Log in to your Ubuntu machine using your favorite SSH client.
2. Update your computer’s package repository cache by running the below command.
sudo apt update3. Next, run the following commands to create a directory named /opt/install-bitbucket-demo and switch to that directory. This directory will host your Bitbucket installation files.
sudo mkdir /opt/install-bitbucket-demo
cd /opt/install-bitbucket-demo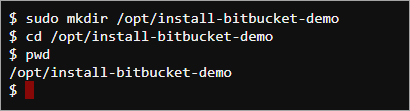
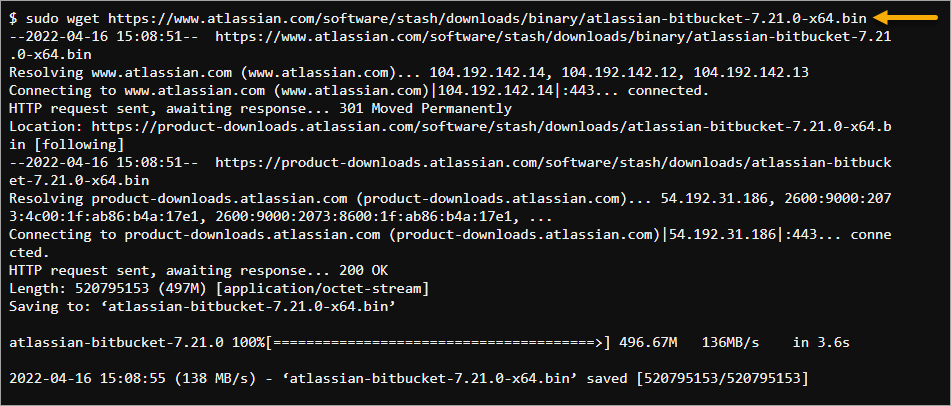
4. Now, download the Bitbucket binary file for Linux 64-bit by running the below wget command.
As of this writing, the latest Bitbucket version is 7.21.0. In the future, you may find the latest download links on the Bitbucket products download page.
sudo wget https://www.atlassian.com/software/stash/downloads/binary/atlassian-bitbucket-7.21.0-x64.binWait for the download to finish. The installer size is approximately 496MB, and the download may be complete in a few minutes, depending on your internet speed.
5. After downloading, turn the binary file into an executable by running the following command.
# Adding the Execute permission on the binary file
sudo chmod a+x atlassian-bitbucket-7.21.0-x64.bin
6. Run the below command to install the Bitbucket server.
Starting the Bitbucket installation with sudo creates a dedicated account that will run Bitbucket and allows running Bitbucket as a service.
sudo ./atlassian-bitbucket-7.21.0-x64.bin7. When the Bitbucket installation wizard prompts you to install or upgrade an instance, press 1, Enter for a new Bitbucket instance installation.

8. The wizard asks you What type of instance are you looking to install? Press 1, Enter to Install a Server instance.

9. Next, leave the default installation path for Bitbucket (/opt/atlassian/bitbucket/7.21.0] and press Enter.

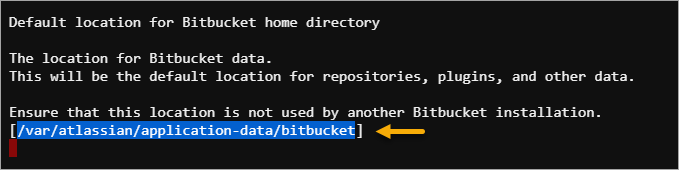
10. Leave the default home directory (/var/atlassian/application-data/bitbucket) unchanged and press Enter. This directory will host the Bitbucket repositories, plugins, and other data related to Bitbucket.
11. Accept the default port number (7990) and press Enter on the port number configuration step.
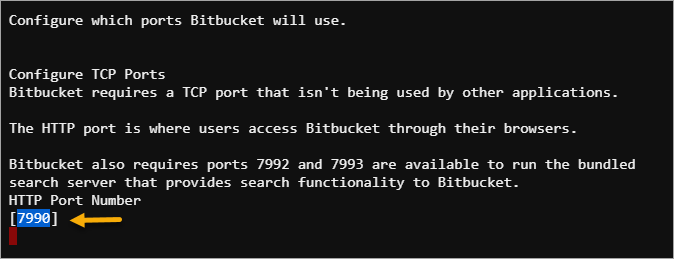
Bitbucket also uses port numbers 7992 and 7993 to run the search server, enabling the search functionality.
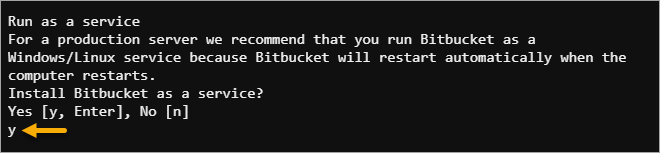
12. On the Install Bitbucket as a service prompt, press y, Enter. The installer configures Bitbucket to run as a daemon and starts automatically when the computer restarts.
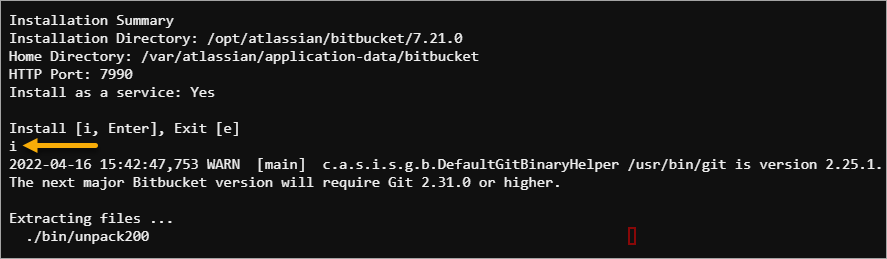
13. Review the Installation summary and press i, Enter to confirm the installation. Wait for the installation to complete, which only takes a few minutes.
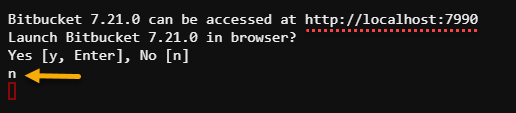
14. When the installation is complete, press y, Enter to launch Bitbucket.
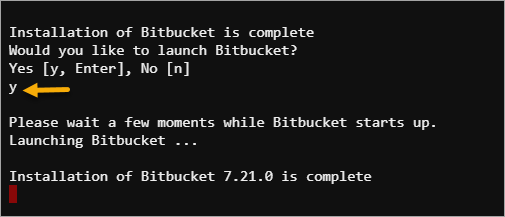
15. Finally, press n, Enter to skip launching the browser.
Setting up the Bitbucket Server Configuration
So you’ve installed Bitbucket. Excellent! But, there are a few more steps before you start using Bitbucket. Don’t worry. You’ll be doing the Bitbucket setup through the web UI as follows.
1. Now open your favorite browser and navigate to HTTP://ipaddressOrHostname:7990, and you should see the Bitbucket setup screen as shown below. Select the Language as English and Database as internal, and click on the Next button.

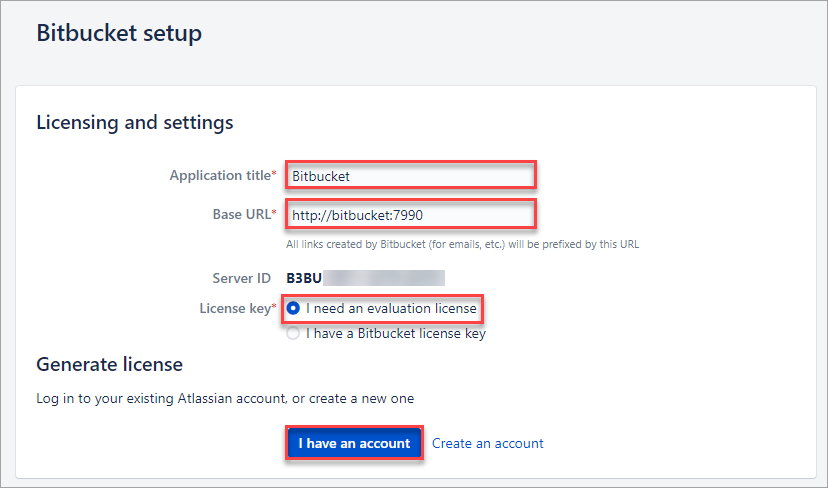
2. Specify the Application title, and the base URL will auto-populate. Next, select the I need an evaluation license option and click on the I have an account button.
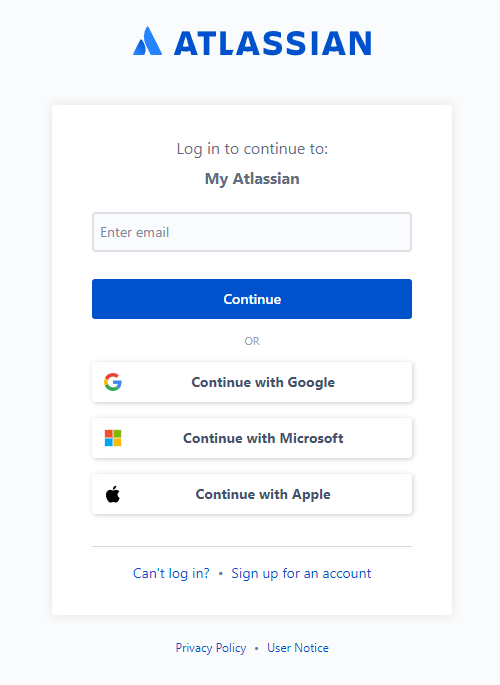
3. On the next page, log in to your Atlassian account. Depending on how you registered your account, select the appropriate login option.
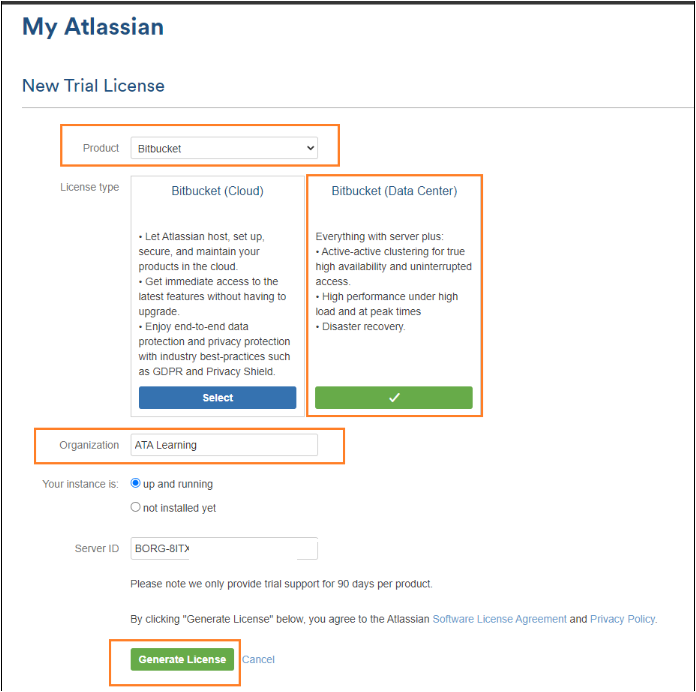
4. Select the following options on the New Trial License page and click Generate License to generate a 90-day trial license.
- Product: Bitbucket Software.
- License type: Bitbucket Software (Data Center).
- Organization: <Your organization name>.
- Your instance: up and running.
- Server ID: DO NOT CHANGE. The Bitbucket setup automatically populates this field with your server’s Server ID.
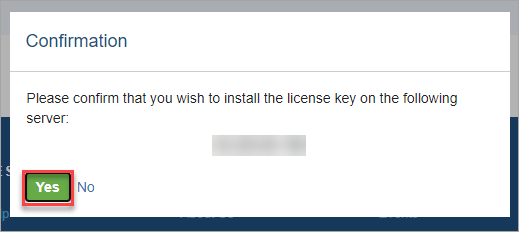
5. Click Yes on the confirmation prompt to install the license key to your Bitbucket server.
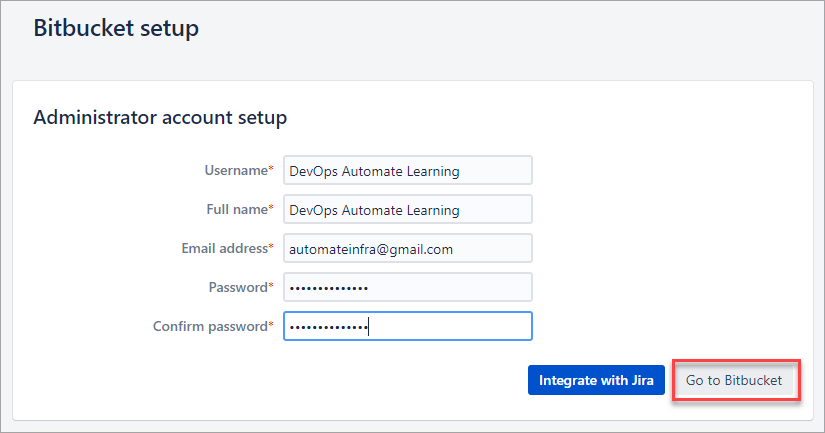
6. Next, set up the administrator account to completely control the Bitbucket server. Enter your registered email address, username, and password, and click on the Go to Bitbucket button.
7. You should now see the Welcome to Bitbucket. Let’s get started page, which means you’ve completed the Bitbucket server setup stage.
Creating a New Project and Repository
You’ve installed Bitbucket and completed the server configuration, including installing a trial license. Your Bitbucket server is now functional, and you are now ready to start creating create projects and repositories.
1. On the Bitbucket welcome page, click on Projects.

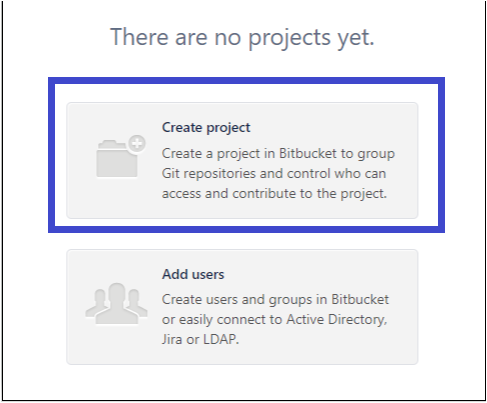
2. Now, select the Create project option to create the first project.
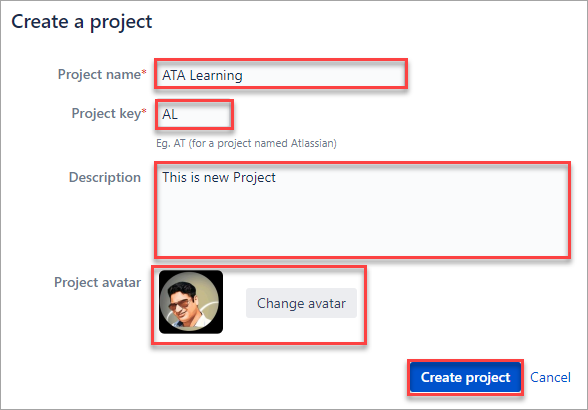
3. Next, specify the details for your new project. This example project will have the following information:
- Project name: ATA Learning
- Project Key: Automatically populated ( Short form of Project name AL)
- Description: This is a new project
- Project avatar: (Optional)
Once you’re satisfied with the project details, click Create project.
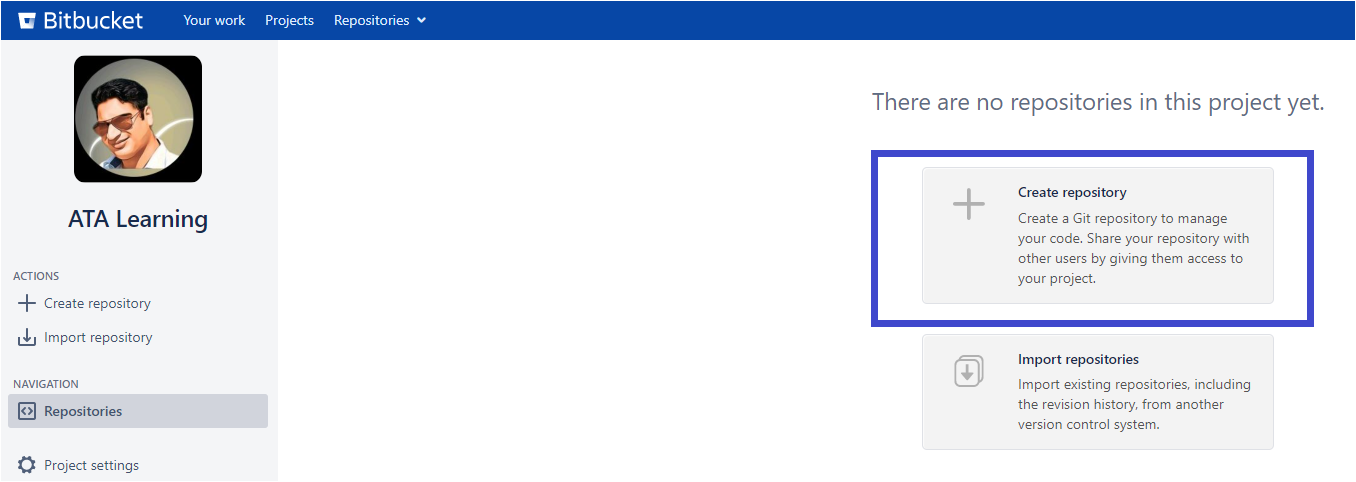
4. Once you’ve created the project, you will see that the Project page has no repositories. To make the one, click on Create repository.
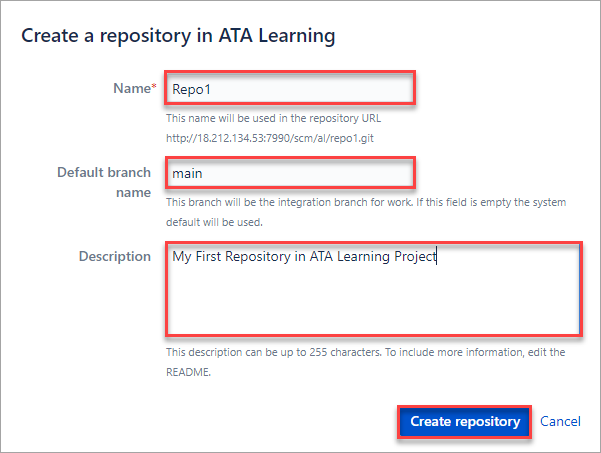
5. Next, enter the new repository details. This example will create a repository with the below details.
- Name: Repo1.
- Default branch name: main.
- Description: My First Repository in ATA learning Project
Once you’ve filled in the details, click Create repository
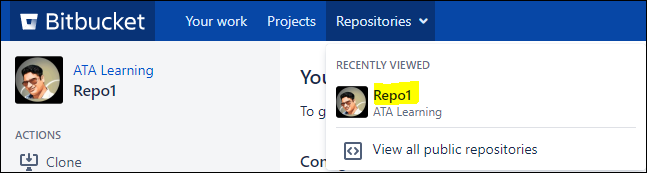
After creating the repository, you will see the new repository (Repo1) on the list.
Testing the Bitbucket Server with Git Bash
You’ve created a new Bitbucket project and repository. Good! But your repository is sitting there doing nothing at this point. Why not put your repository to use next by cloning it and pushing new files.
1. Firstly, navigate to the Repositories drop-down button at the top of the page and select the repository (Repo1) that you want to clone.
2. Next, click on the Settings button —> Repository permissions —> Enable on the repository page. This step will allow you to clone the repository to your local machine.

3. Now, create a folder on your desktop named New folder.
4. Open Git Bash software on your computer and navigate to the New folder you created in the previous step.
5. Execute the git clone command to clone the Bitbucket repository.
git clone http://ipAddressOrHostname:7990/scm/al/repo1.git
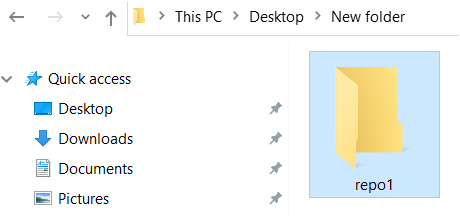
6. Next, verify if the repository has been cloned successfully by navigating the New folder. As you can see below, the repository has been successfully cloned (repo1) in the New folder.
That’s it! Your Bitbucket instance is now working. At this point, you can add files to your local repository, commit the changes, and push the changes to your Bitbucket repository.
Conclusion
In this tutorial, you learned to install Bitbucket on Ubuntu and configured its initial settings to get started. You also created a project and a repository within, letting you store code and configuration files conveniently for you and your team.
Finally, you cloned the Git repository using Git Bash on your local machine. With what you’ve learned in this Bitbucket tutorial, do you think Bitbucket could be an excellent alternative to GitHub for your team?