
Getting tired of worrying about servers instead of focusing solely on writing web applications? Heroku is just the right Platform as a Service (PaaS) solution for you!
Heroku magically takes care of the building, deploying, running, and scaling process of applications for developers. And in this tutorial, you will create a Heroku Docker which is a Docker container for a Git repository and deploy it on Heroku servers.
Sit back, and relax as you level up your deployment skills with Heroku!
Prerequisites
This tutorial comprises hands-on demonstrations. To follow along, ensure you have the following in place:
- A Heroku account.
- An operating system (OS) supported by Heroku (i.e., macOS, Windows, Linux) – This tutorial uses Windows 11.
- Git’s latest version installed – This tutorial uses version 2.36.1
- Docker installed.
Installing Heroku CLI
Since Heroku applications are managed from the command line, you must install the Heroku CLI, an interface to the Heroku Platform API.
Although many tasks can be accomplished on Heroku’s website, not everything is available through the dashboard. For complete control over the applications, you need the CLI.
To install Heroku CLI on your system, follow these steps:
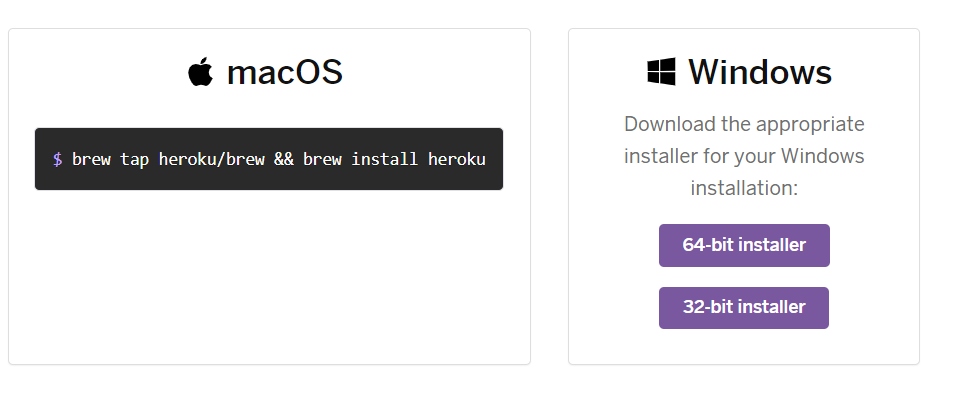
1. Open your favorite web browser, and visit the official Heroku website.
2. Next, download the specific version for your system, and run the installer, which opens the Heroku setup wizard (step three).
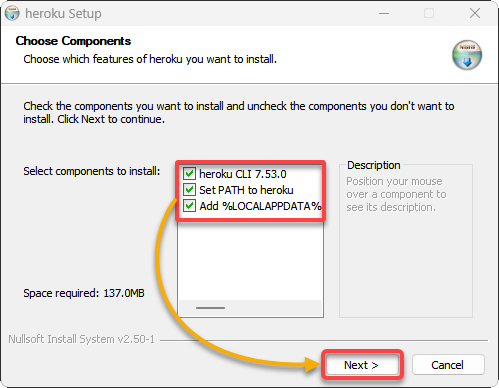
3. On the Heroku Setup window, choose the components to install along with Heroku CLI, and click Next.
Make sure to select all components to directly add the path for Heroku in Environment Variables, and let you leverage Heroku commands from the terminal window.
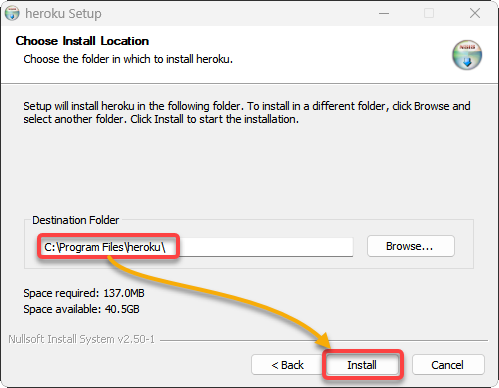
4. Now, keep the default or choose a different install location and click Install to install Heroku CLI.
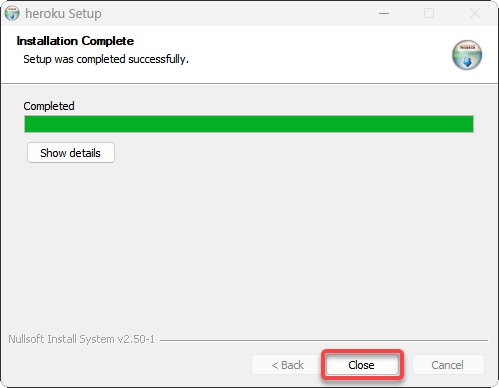
5. Once installed, click Close to finish the installation.
6. When the setup window closes, open your PowerShell or terminal, and run the following command to check Heroku CLI’s installed version.
heroku --versionBelow, you can see the latest version of Heroku CLI as of this writing.

7. Next, run the below command, and press any key to set up a connection with the Heroku website by authentication. A new tab opens in your web browser where you must provide your Heroku credentials.
heroku login
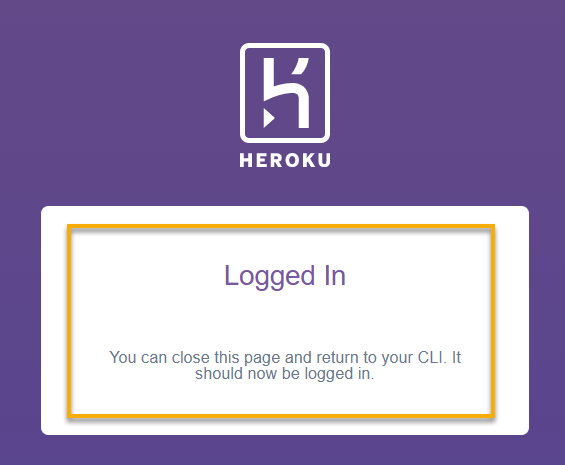
8. On the new browser tab, click Log in to authorize your connection to Heroku.
Note that you will only need to click Log in, as shown below if you are already logged in to Heroku. Otherwise, you will have to provide your Heroku credentials to log in.

9. Lastly, close the browser tab, and switch back to your terminal.
Below, you will see the following information regarding a successful connection on your terminal.

Creating a Heroku Docker Container
With the Heroku CLI installed, you now need a way to encapsulate your application — a Docker container. A Docker container is a lightweight package that includes everything needed to run your application. These containers isolate software from its environment and ensure smooth running regardless of its infrastructure.
As Docker images are reusable and can be deployed on any host, you will be using a Dockerfile to create a Docker image to create a Docker container and deploy it to Heroku.
To create a Docker container, follow these steps:
1. Run the following git clone command to clone a sample GitHub repository.
This command downloads the source code for the sample app from GitHub to the HerokuDeployApp directory in the working directory.
git clone https://github.com/Adam-the-Automator/HerokuDeployApp.git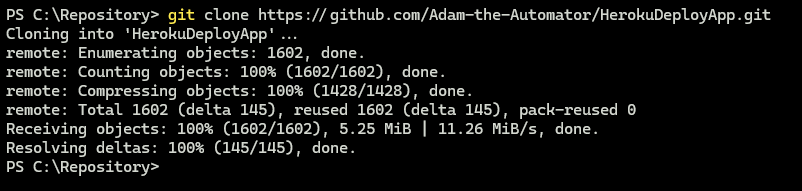
Git is an essential part of the Heroku platform, and having a basic understanding of how it works is a prerequisite to deploying code to Heroku. Git tracks every source code change, allowing you to revert them quickly. Heroku deployment is “the push” of a local Git repository to a remote provided by Heroku.
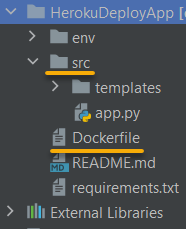
2. Next, navigate to the HerokuDeployApp directory with your file manager or code editor, and view the project structure, as shown below.
The src directory contains all the application code, while the Dockerfile contains the commands to create an image.
3. Create a file called Procfile in the project root directory, and add the following line to create a profile (Procfile). Heroku uses a profile that defines each process required to run applications.
The first app represents the name of the Python file launching your application, while the second app represents your (flask) app name.
web: gunicorn app:app 
4. Now, add the Gunicorn dependency in the requirements.txt file, and save the changes.
Gunicorn is a WSGI web server that runs Python-based web applications concurrently by running multiple Python processes.

5. Create another file called heroku.yml in the project root directory, and add the following line of codes. This file builds Docker images on Heroku and specifies additional configurations to define the Heroku app.
build:
  docker:
    web: Dockerfile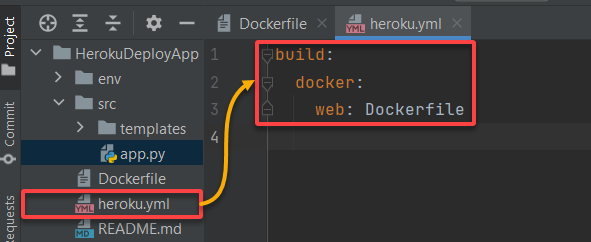
6. Next, change the directory to the project directory, and run the below docker build command to create a Docker image (heroku-app) to contain your sample application.
docker build -t heroku-app .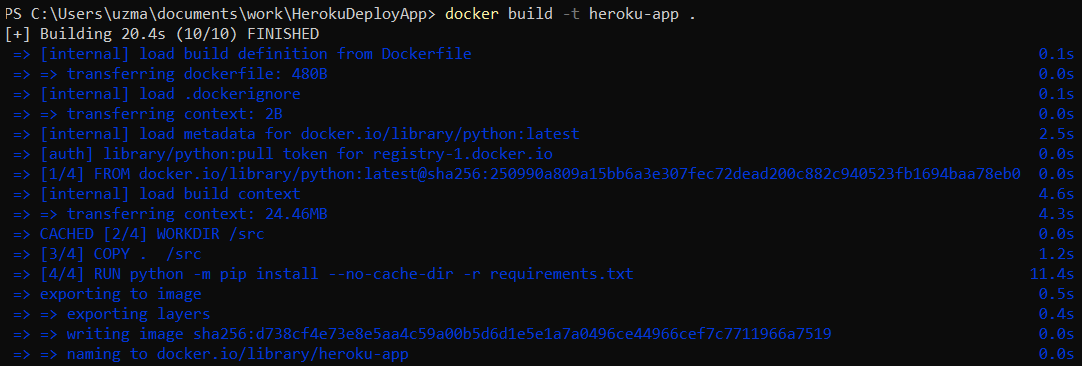
7. Once you have a Docker image, run the following docker run command, which does not produce output but launches your application (heroku-app).
docker run -p 5000:5000 -t -i heroku-app:latest8. Lastly, open a new browser tab, and navigate to localhost:5000 to access your application.
If all goes well, you will see the page below confirming your app has been deployed to Heroku.

Creating an Application in Heroku
Before deploying a Docker container on Heroku, you must create a Heroku app. Heroku apps are basic organizational units that add new remotes to the Git repository. A remote is located in Heroku servers where code is pushed for deployment purposes.
Run the below heroku command to create an application. Be sure you replace <app-name> with your preferred name, but this tutorial’s choice is heroku-app2725.
heroku create <app-name>
Now, run the following command to add the existing git repository (heroku-app2725) to the remote Heroku repository.
GitHub is a contribution and collaboration platform with no hosting option, while Heroku comes with its own servers to host the deployed apps. Adding existing Git repos to Heroku is transferring the Git repo code to Heroku and setting up a running environment for (launching on the server) the application.
heroku git:remote -a <app-name>
Pushing the Docker Container to Heroku
With the Heroku origin established, you will now push your Docker container to Heroku, where the Heroku server will oversee your app execution. But first, you must ensure that all changes in the repo are committed.
To push your Docker container to Heroku, follow these steps:
1. Run each git command below to stage (add) and commit the latest changes on your Git repo.
git add .
git commit -m "First commit to heroku"
2. Next, run the below command to set your app’s stack to container. A stack is an OS image that offers an application-compatible environment for the application source code on Heroku.
Heroku offers different types of stacks to run apps. Heroku-22 is currently the default stack for newly developed apps. But for container-based apps, you need to specify it to the container.
Heroku will use your custom Docker container instead of a default Heroku-curated stack.
heroku stack:set container
3. Once the stack is set, run the following command to push your code to Heroku, specifying the heroku remote and Git master branch.
git push heroku masterAfter pushing, Heroku performs the following:
- Examines the repository to detect the language and the framework used.
- Builds a Heroku slug (a copy of your application) ready to be deployed on Heroku’s servers.
- Removes unnecessary files from Git repository to make the slug as lightweight as possible.

4. Now, run the below heroku command to scale the Heroku Dyno for your web app. Dynos are lightweight Linux containers dedicated to running application processes.
Since you are deploying a web application, you will use Web Dynos (web=1) to handle web processes.
heroku ps:scale web=1
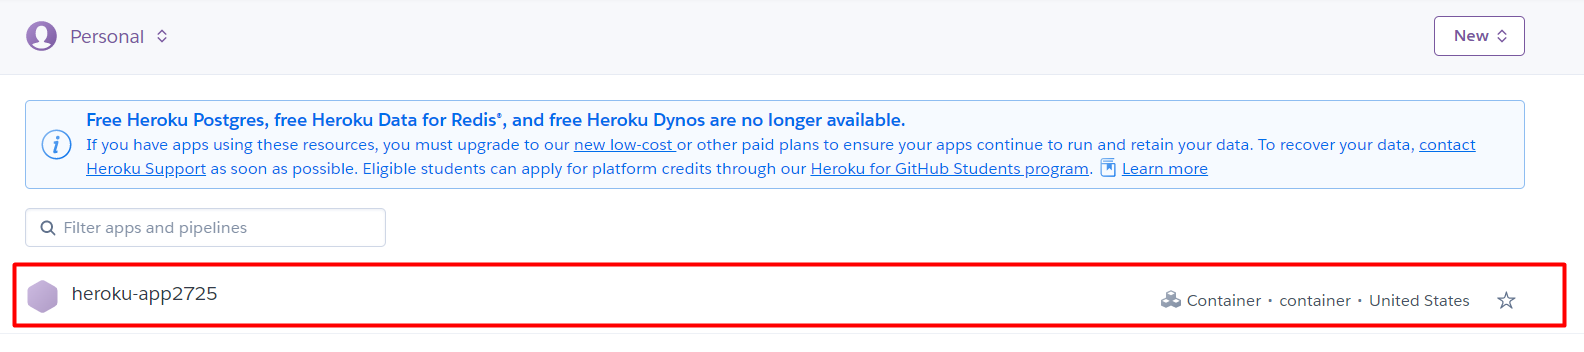
5. Lastly, visit the Heroku dashboard, and you can see your app listed, as shown below.
Launching the Heroku App
Now the app is ready to use. After setting up a running web server for your Heroku app, it is time to launch it and test if it works.
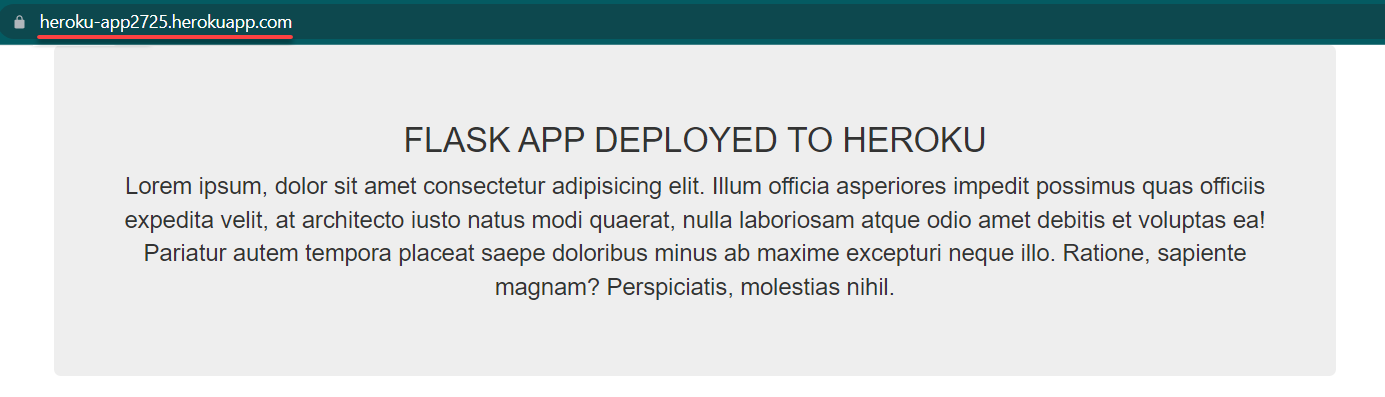
Open a new web browser tab, and navigate to your Heroku app (i.e., https://<heroku-app-name>.herokuapp.com), where <heroku-app-name> is your app’s name.
By default, all Heroku applications have a domain name format of applicationname.herokuapp.com. This domain directs requests to the web server.
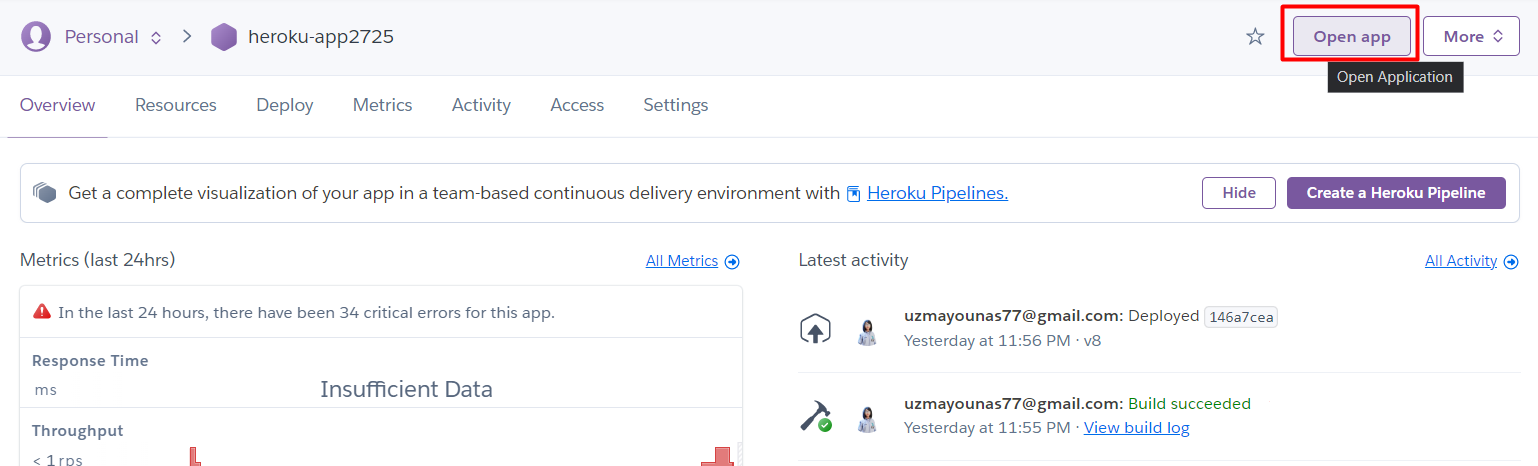
Alternatively, head back to the Heroku dashboard, access your app’s overview page, and click Open app (upper-right) to access your web app.
If everything works correctly, your browser redirects to your deployed web app, as shown below.
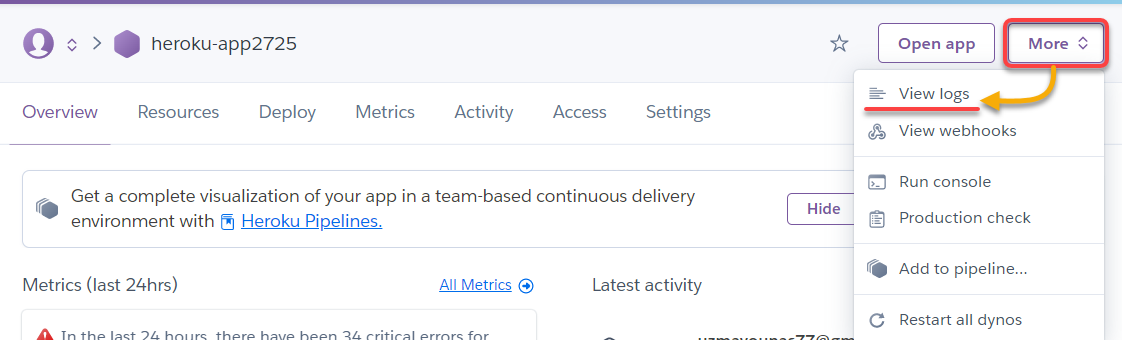
If the application fails to serve a user’s request, click the More dropdown (upper-right) and select View logs to know as much information as possible about the failure. Heroku maintains detailed information about each error in its logs.
Conclusion
In this tutorial, you have gone through the process of deploying Docker containers to the Heroku platform for execution. Heroku creates a new release and restarts the application automatically when you push new code or modify resources.
Why not try another on-demand development model? The “develop and deploy on the cloud” model lets the developers use a browser-based integrated development environment (IDE) to write and build code.